-
Arcade Side Quest: Swapping Hardware
The Problem
It wasn’t too long ago I uploaded a post on how I built out the Raspberry Pi 4 for the Light Quest arcade project. It was all promising at first, until I did my first test. I figured, before I go down the long, long road of fully developing an entire game from scratch, going through countless revisions (hopefully not countless) and finally getting to the point where I’m ready to deliver the game to run it on the Raspberry Pi, only to find out the game wasn’t compatible with the Pi hardware… It’d be best to just run a simple test first with a game I already had lying around. Yes, I got the controls working for the game, but that was only on my laptop. I wasn’t satisfied until I had a game that I’d written fully functional and running smoothly on the Pi.
Good news: I ran this check early. Bad news: The test unearthed some unfortunate results. Something that I didn’t completely realize until after the Pi was ordered and assembled and set up with a fresh copy of Raspian, was the fact that Pi’s run ARM CPU architecture. This is great except when you need X86 architecture. The executible Linux binary I had exported for Pi was only compatible and compiled for x86 architecture. When I executed on Pi, it just threw an error and that was that. There was no running the game unless I could export for ARM. After many-a internet searches, almost zero game engines support ARM architecture. I say almost because there were a few examples of crazy experimental setups running Unreal or Unity on ARM boards, but it wasn’t exactly straighforward. Keyword: “experimental”.
So finally, I came to terms with the fact that it would just be easier to swap hardware in favor of an X86 CPU board instead of forcing the Pi to do what I needed it to do. So after a quick call to IT, they just happen to have a few chromeboxes lying around that were being replaced. Score! I was able to snag one of the boxes for the arcade project. The new gameplan was to wipe the chromebox, install GalliumOS, and test the linux executable on that box. But first, the GalliumOS install. Luckily I have some previous experience with GalliumOS and have installed it on 2 laptops before.

The first step is finding the four corner screws that keep the main case assembly together. They can easily be located by popping off the rubber feet at the bottom of the chromebox with a small flathead screwdriver or a knife. With those screws exposed, you can pull them out with a Phillips head screwdriver.

With the four corner screws removed, the top of the case can easily slide off. With the chromebox top removed, you can get a good look at the internal components. Upon careful inspection and a little bit of help from Mr. Chromebox, I was able to find the write-protect screw. Yes, there is a physical screw that protects custom firmware from being written without removing this screw. I guess Google doesn’t want anyone to accidentally boot a different operating system.


Once the write protect screw is removed, I was able to close everything back up and boot into GalliumOS without having to hit CTRL+L every single time to make sure that it boots into legacy mode. And with a few settings tweaked, I now have a chromebox that automatically logs in as admin at boot and launches the Linux binary executable that I was testing on the Raspberry Pi 4 that was failing previously. Problem solved.
-
Cabinet Teardown
First off, can I just take a minute to admire the insane amount of work that was put into this original cabinet? After I got the cabinet inside and to a place where I could begin work on it, it was time to take the back off and take a look inside. The sheer amount of (heavy) electronics, circuit boards, and components required to make this (now rudimentary, then cutting edge) game work is amazing.

This is a somewhat disorienting shot of the inside of the cabinet from the back. This is the underside of the tube monitor. To back up for just a second, unfortunately there was no key included to unlock the back of the cabinet. The rear door had a simple tumbler lock on it. After a bit of jiggling with a lock pick, it wasn’t opening up. That might have had something to do with the fact the the rear panel was also secured with some wood screws. A quick trip to the toolbox and I was in.

Who knew it took two motherboards stacked on top of each other to power a single game?
Once I was inside, I was able to loosen the four bolts that fixed the main tube monitor to the rail system on the sides of the cabinet walls. Once those bolts were off, the monitor just slid right out the back.

Once of the great things about this build is that we’re not having to rely on any of the original parts for this build. The plan is to ultimately bypass most of the original components and just build our own system inside. It should be a lot lighter by the time we’re done! Once the monitor came out, it was time to pull off the banner across the top of the game. The plastic was pretty easy to slide out of the bottom edge of the slits.

The top plastic banner slides out from the bottom revealing two lights and a speaker. Once the banner was out, it was time to pull the control deck. Lucky enough (or maybe by design) the entire control deck was simply latched down from the inside. Once you pull the latches and detach the wires, the control deck just comes right off.

Once the control deck was removed, it was time to replace the components. Unfortunately, the way Galaga was designed, the joystick was only built to operate on the X-axis. In other words, it can only move left or right. There was no up, down, or diagonal movement allowed. There were only two sensors on the joystick box. One sent a signal for left, the other sent a signal fro right. The “one player” and “two players” buttons look to be completely original, hence their super sturdy steel construction. Looks like the “fire” button had been replaced, since it looks almost identical to the button’s we’ll be using for this build. Regardless, all the components on this control panel need to be removed in favor of controls that are USB compatable. Time to unsolder everything!

Simple wiring diagram for the arcade cabinet build. Now that the cabinet is almost completely gutted, it was time to draw out a rough wiring diagram for the new build. It’s a pretty simple setup. Power out of the wall through a power switch. That switch powers a power strip that powers dimable lights that will go on top, behind the banner. It also powers the new flatscreen monitor that will be mounted on the modified rail system. It will also power a Raspberry Pi as well as a small amp that will be used to translate audio from a 3.5mm headphone jack to speaker wire. I think we’re going to end up keeping the original speaker that’s mounted at the top. During the initial boot up, the speaker seemed to be the only thing still working.
Testing the new controls
Before we get too far into this, I wanted to make sure that the controls that were purchased for this build are actually working. So to do a quick test, I went ahead and build out a simple joystick and button, ran them through a little microcontroller that essentially made my inputs readable via USB, and tested it with everyone’s favorite Bible based video game, Jonah and the Whale. Once I remaped the controls to accept joystick input, it worked!

Testing arcade joysticks and buttons with Jonah and the Whale. With great success! 
Here’s a shot of the cabinet after most of the teardown. It’s seen better days. That’s all I have for this update! Stick around and find out what happens next. Once the cabinet is built, then the real work (programming) begins!

Cool shot of the coin slot here. Not sure if or how we could integrate this into actual (free) gameplay. -
A Trip To The Dream Factory
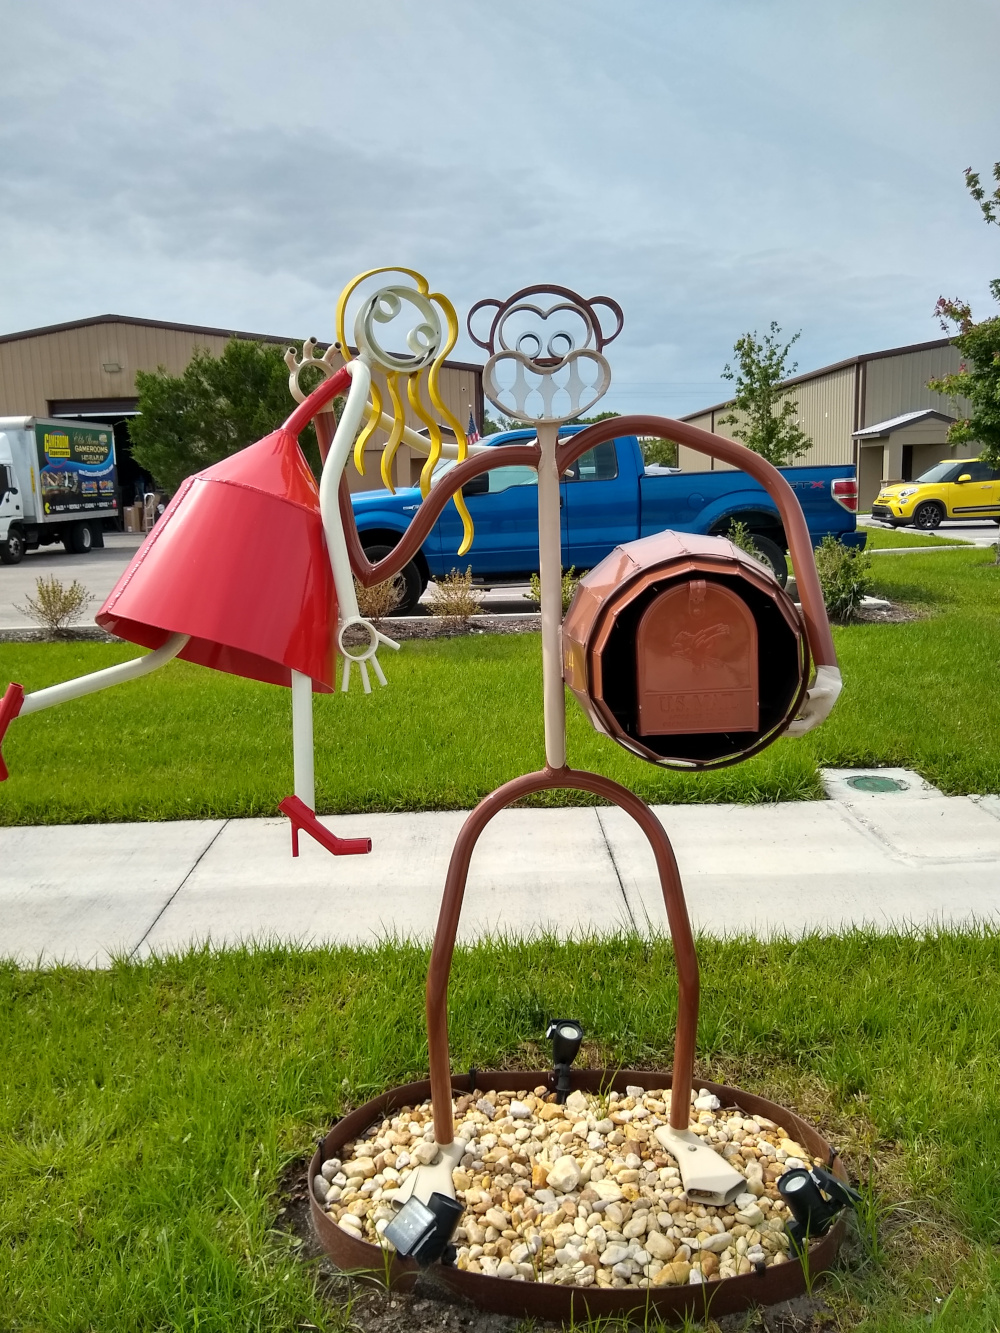
Today was an incredible day. Over the last several weeks, I have been in touch with with a gentleman who owns a company that rents, sells, services, and deals with arcade machines, slot machines, ATMs, coin pushers, pinball machines and more. It’s a very cool business and his company provided and maintained the arcade machines that are on the Van Dyke campus of Grace Family Church. He recently caught wind of our arcade-centric project “Light Quest” and almost instantly offered to help with the project.

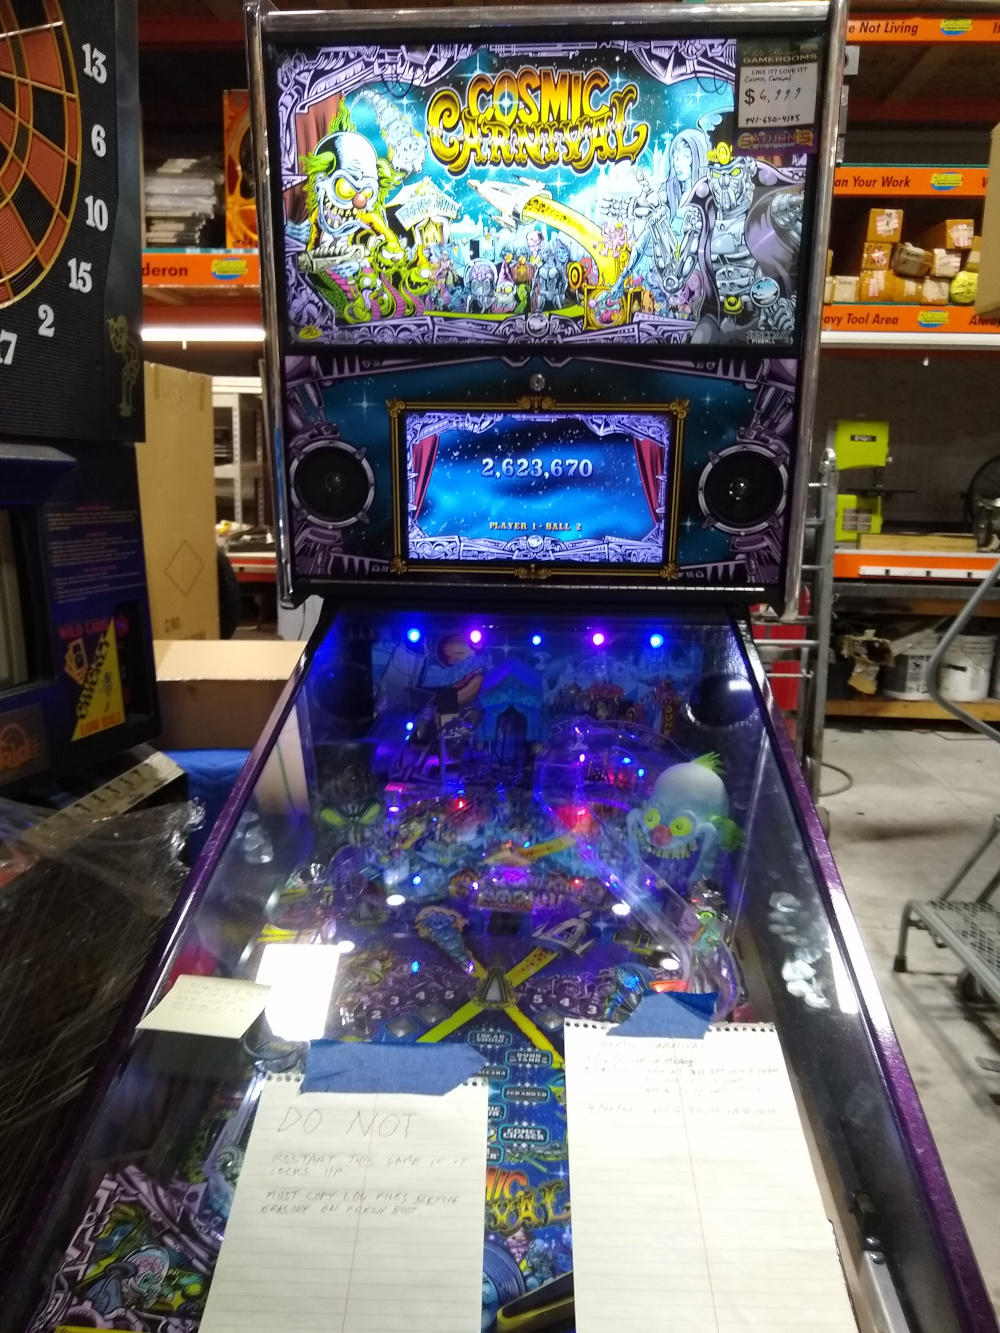
After I had reached out to him and explained a little bit about what I was trying to achieve, he didn’t even hesitate to generously donate an arcade cabinet to help get us started with the project. Once we’d set a date, I drove down to his warehouse and got the grand tour of the entire property. It was filled with all kinds of arcade games, pool tables, slot machines, pinball machines, ATMs, all in various stages of completion. It was amazing to see all the hard work and dedication put into these fascinating machines and got me all the more excited for our very own arcade cabinet build!
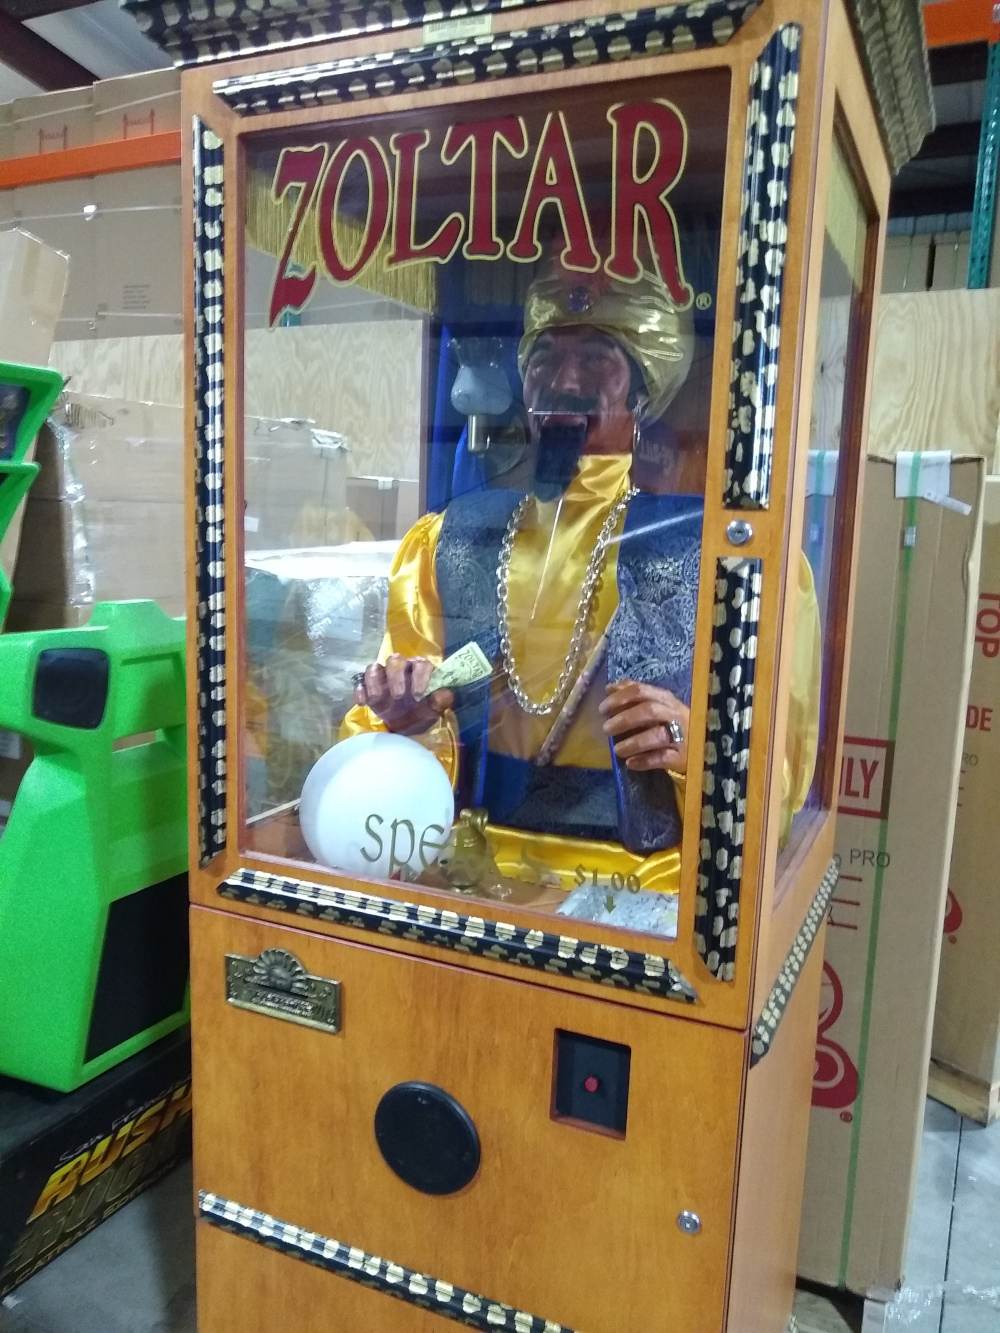
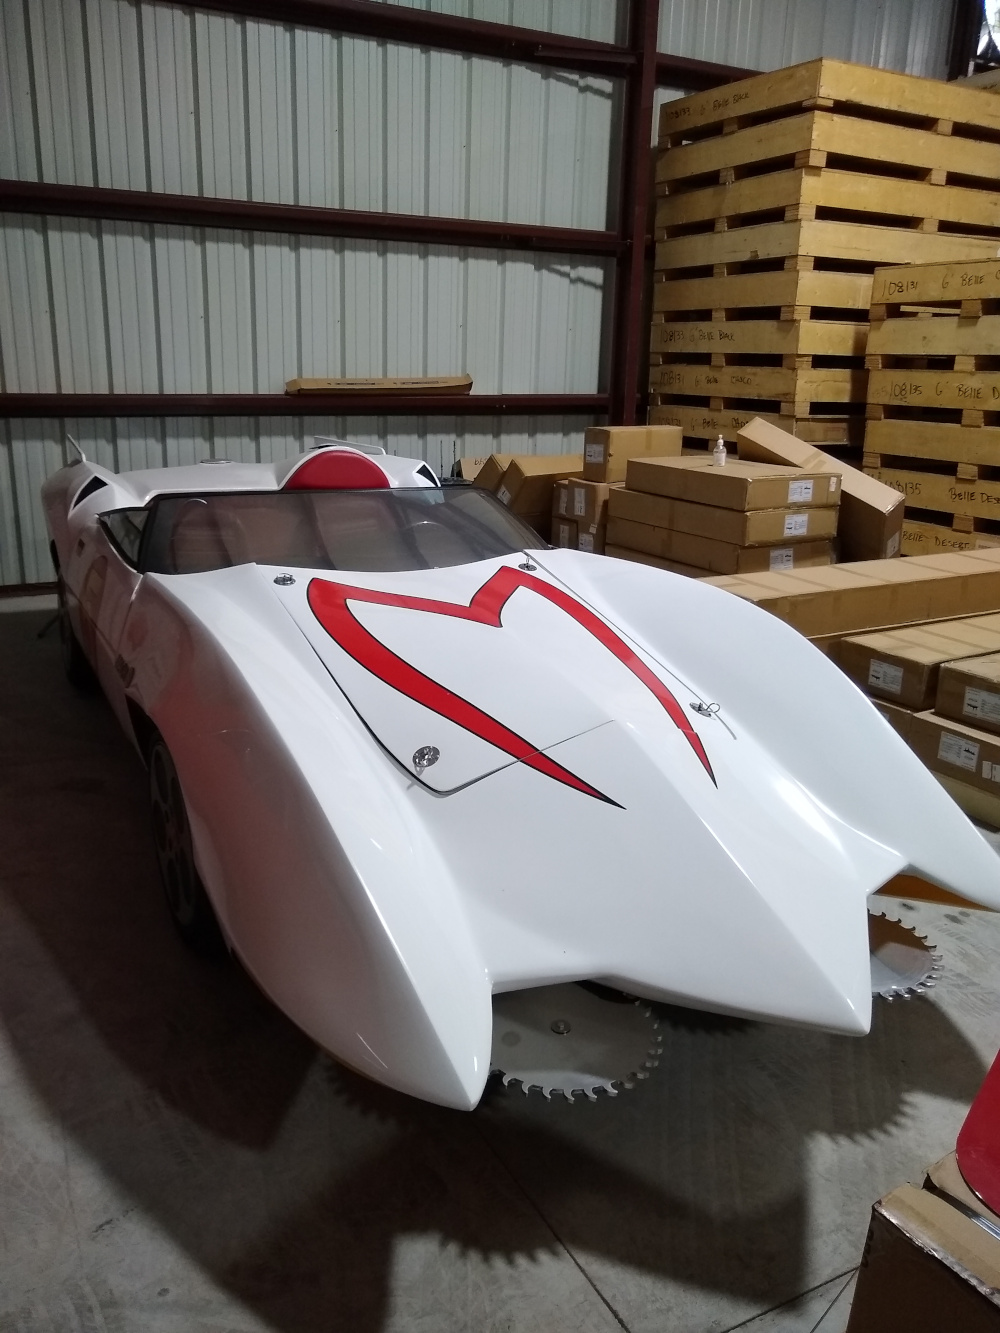
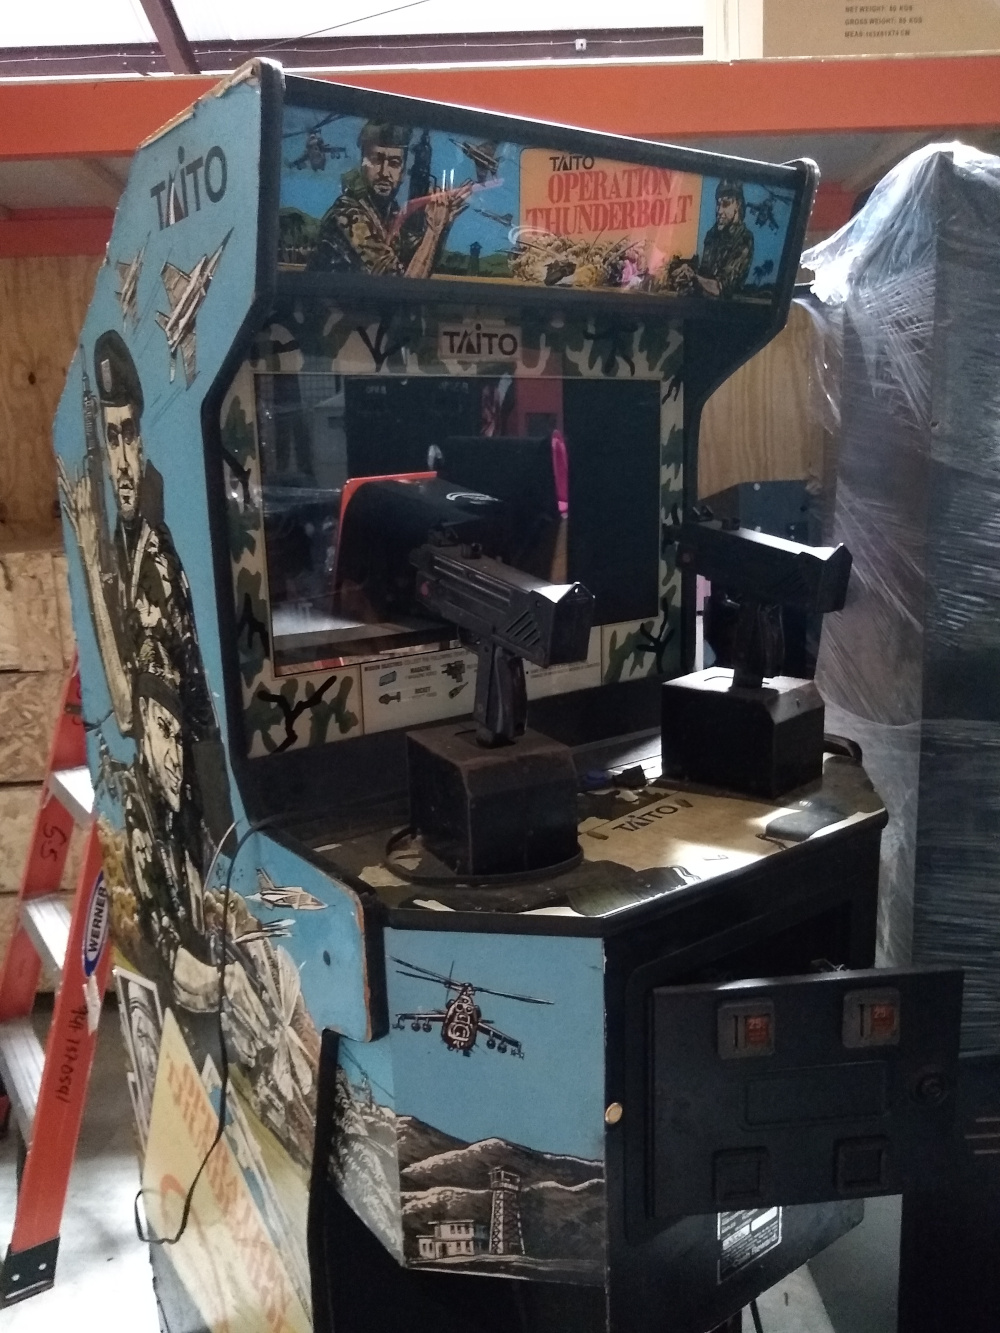
Once I’d picked my jaw up off the floor, it was time to actually load up the cabinet I’d come by to pick up. I was unsure of what to expect, as the original offer was a “blank cabinet”, so I’d prepared by bringing along some furniture blankets and some ratchet straps, just in case I’d need them. I also wasn’t sure if the cabinet would be built to a point where it’d be sturdy enough to transport, or if it’d be a brand new Ikea-style in a flat box I’d have to assemble back at the office. After I had speculated all possibilities of what a blank cabinet might look like, the word was given, “Oh, hey- just give him that Galaga machine over there!”
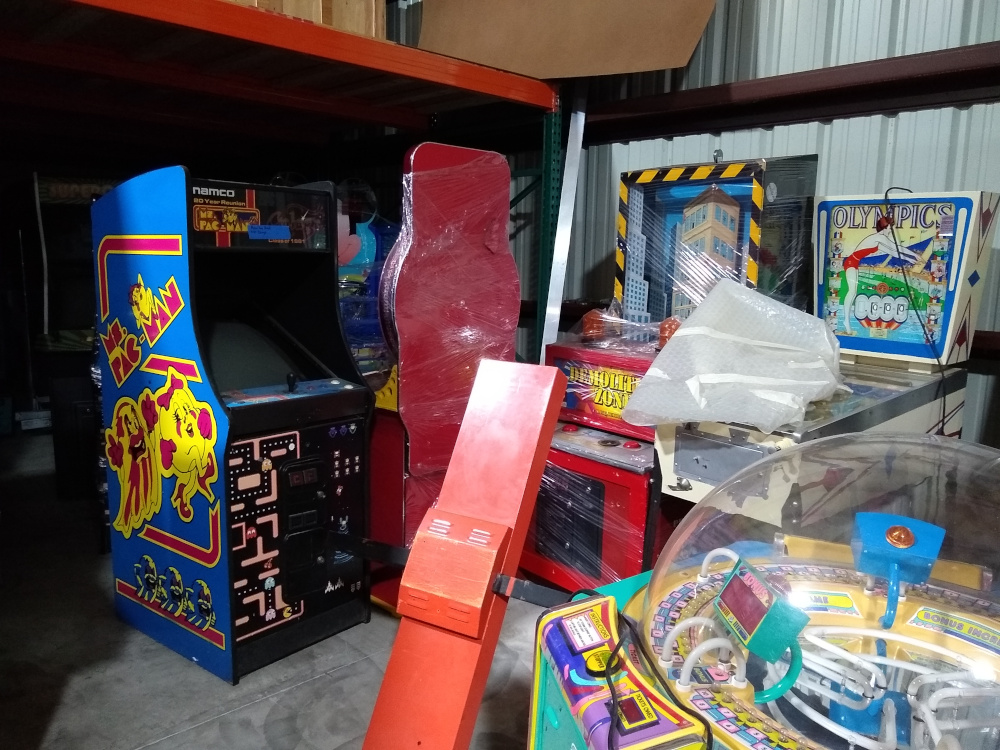
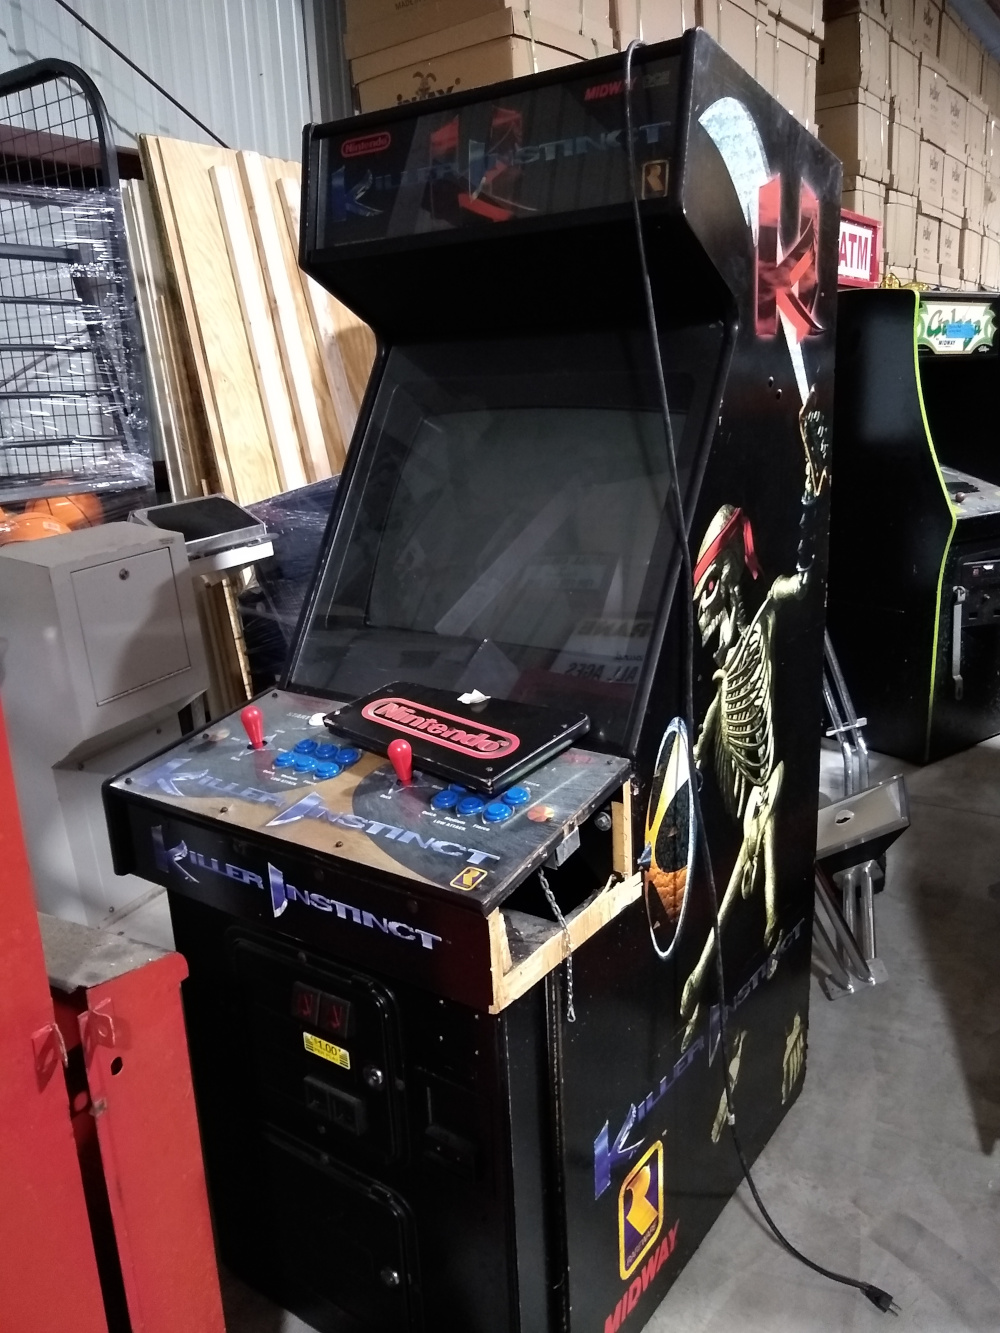
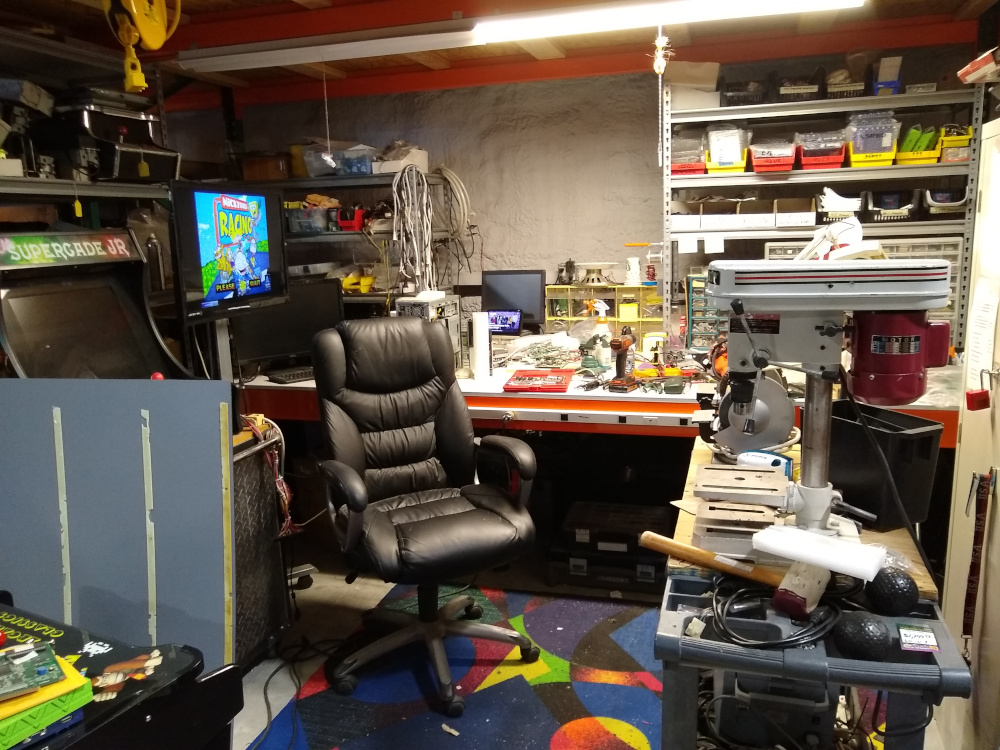
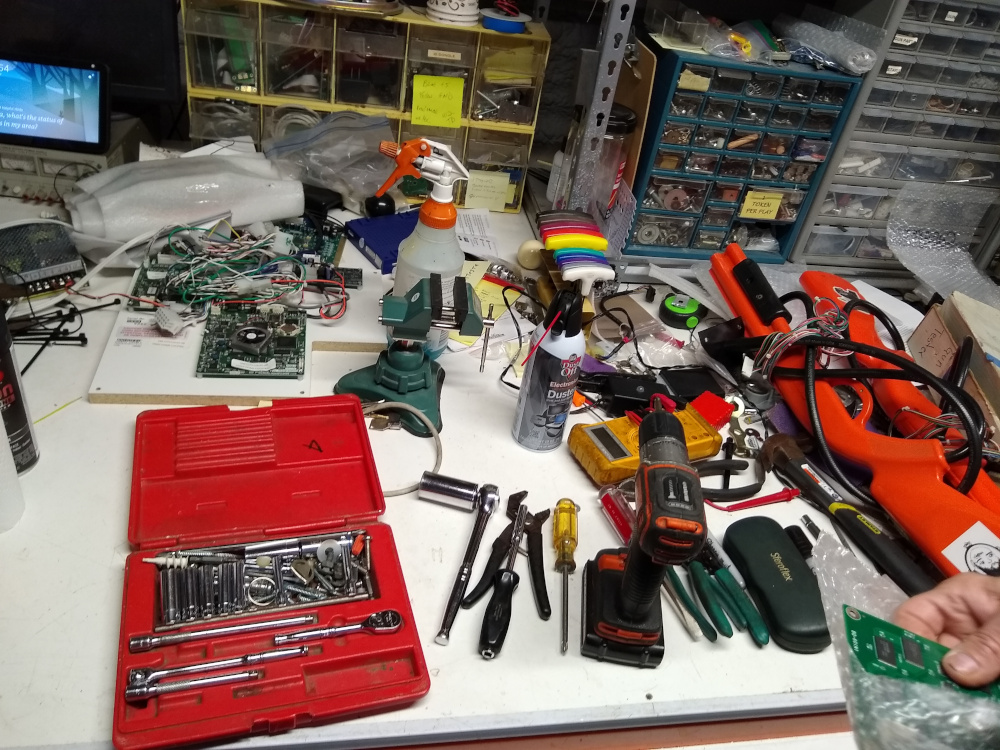
By the way, before I go any further into the story, I just want to take a minute and point out these awesome workbenches. It was so cool seeing all of the parts from original arcade games all laying out on a table with manuals and instructions on how to put everything together! All the soldering irons, tiny screwdrivers, and specialty tools were absolutely awesome to see.
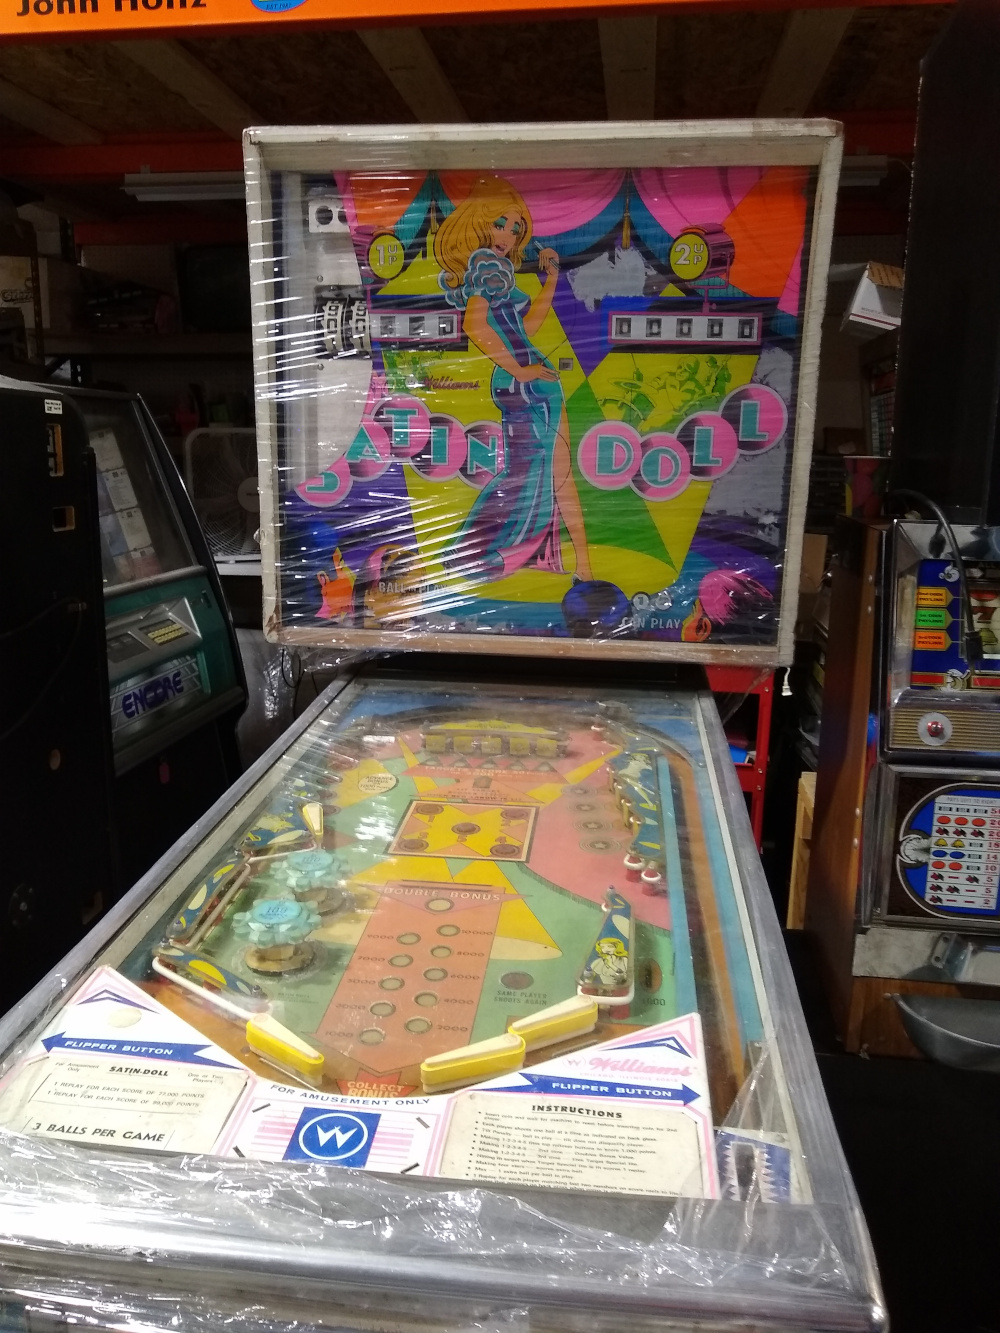
Enter: The Project
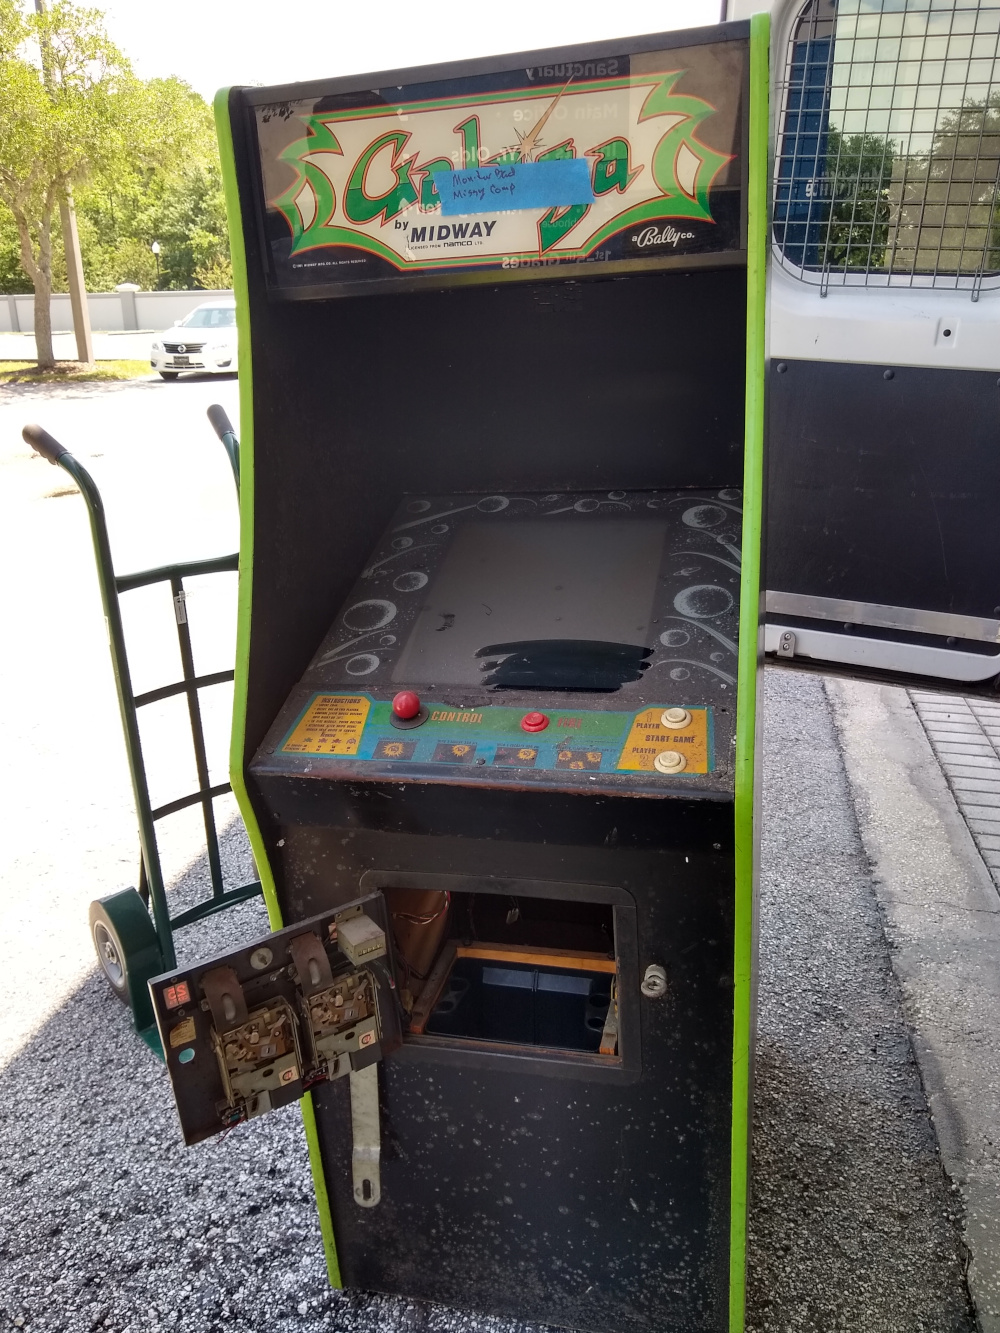
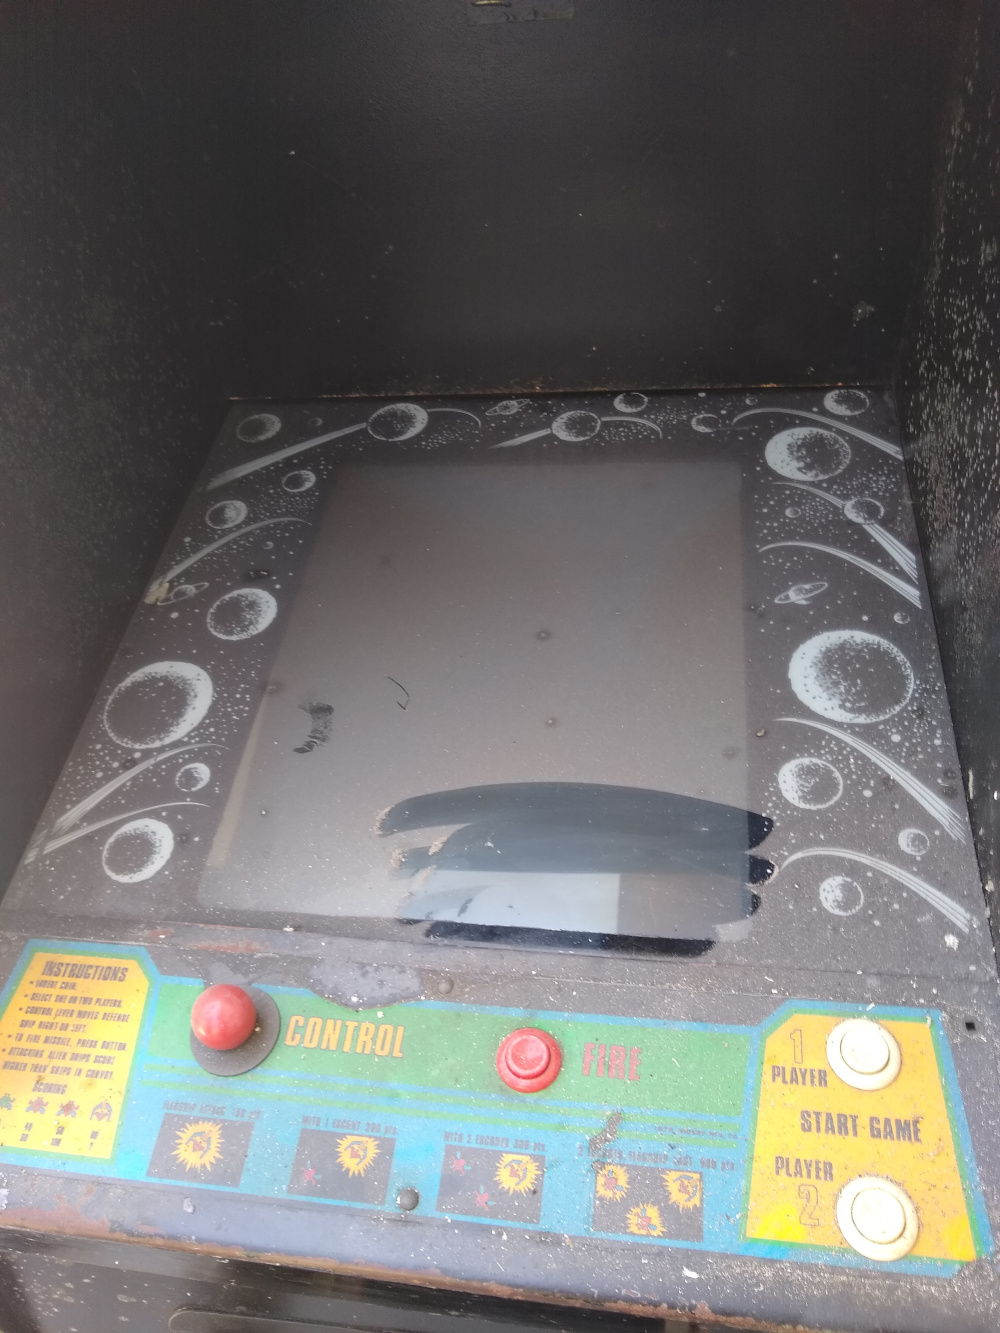
Obviously, this one had seen better days, but this was one heck of a head start (and an EPIC cheat sheet) on our very own custom arcade cabinet. Coming up next, we start tearing this cabinet apart and start rebuilding it from the inside out.
-
Arcade Parts Arrived
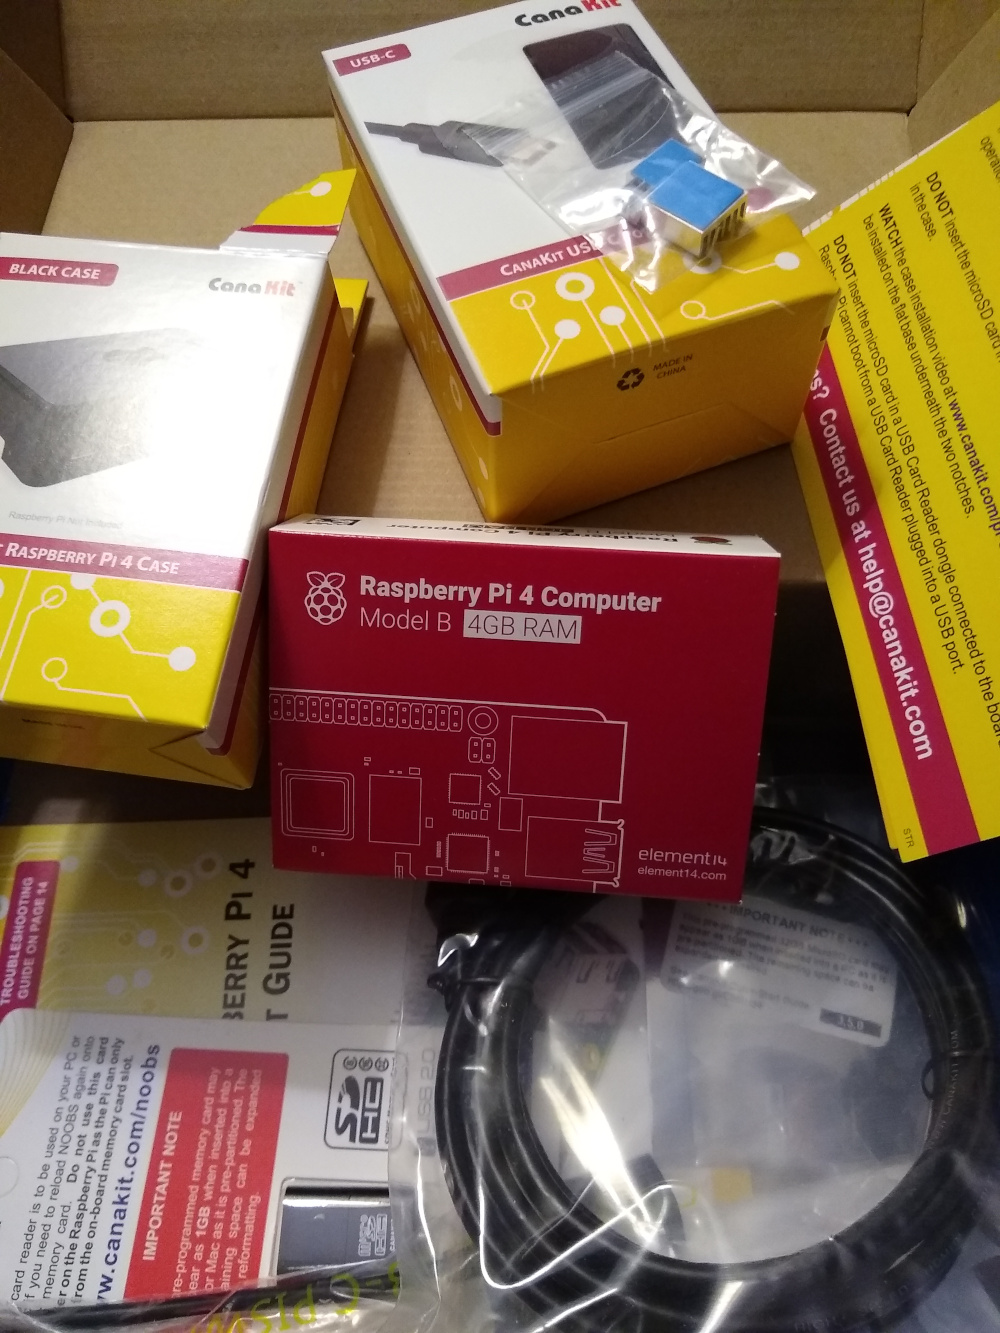
Today was a good day! The parts arrived for the arcade cabinet build. I got a Raspberry Pi 4 kit with case, pre-programmed SD card, HDMI to micro cable, power, and a DIY arcade kit that included several different colored buttons, joysticks and parts. Woo!
Step 1: Take everything out of the box(s)
There was actually quite a large number of parts that all arrived in something the size of a shoe box. The Pi and all of its components and then the arcade hardware and all of their components. To be fair, the buttons and joysticks had a great feel to them. They were nice and weighty, and the joysticks had a very satisfying click when you moved it any direction.
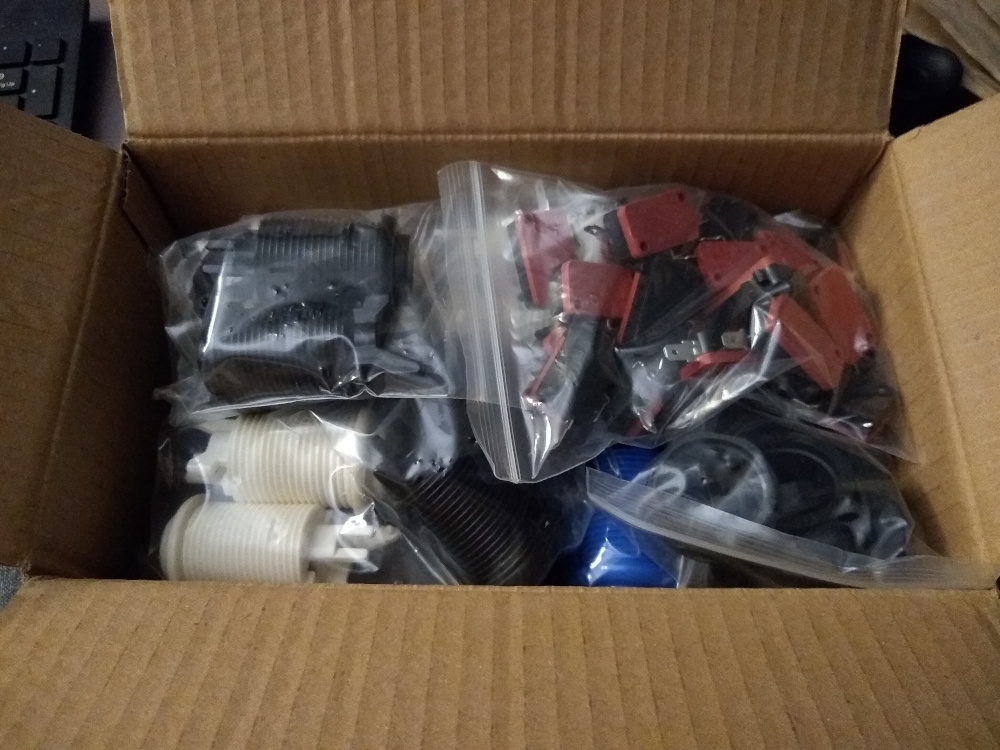

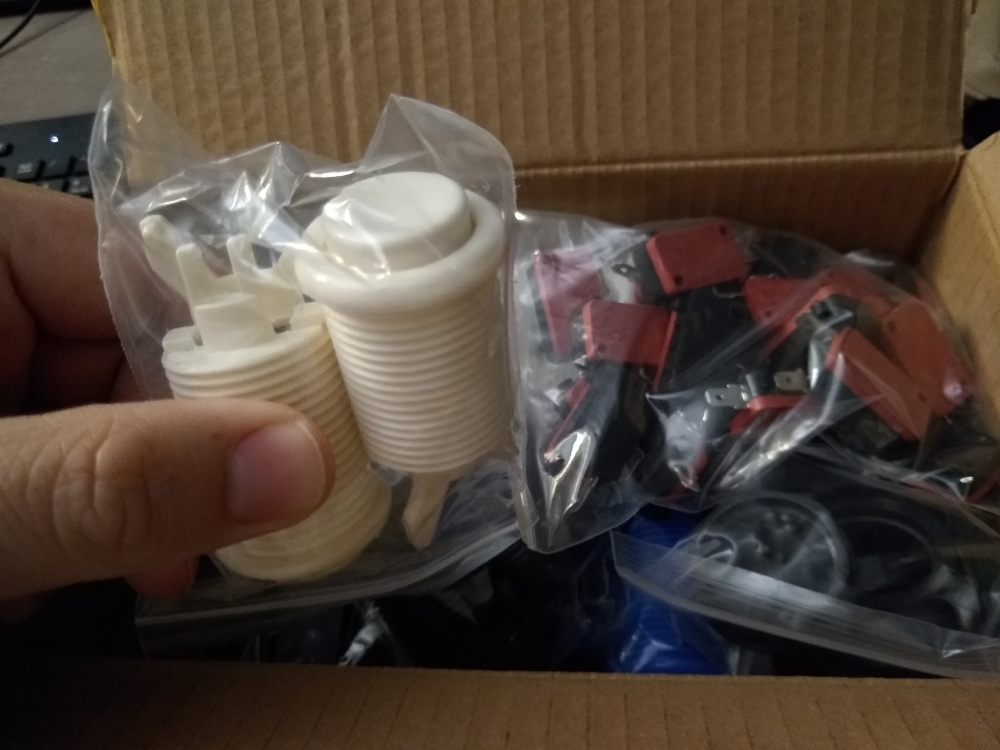
Step 2: Apply Cooling Fins to Pi
If you’ve been following my posts for some time, you’ll have probably run across a few posts that have covered some projects that were completed using the Raspberry Pi 3b+. This arcade cabinet will be completed with the model 4, so I’m really excited to check out some of the differences between the two models. One of the first differences I noticed right off the bat was the USB-C port for power and dual micro HDMI ports for multi-monitor support. Nice! First up, installing the included cooling fins to keep the Pi cool when it’s working hard.
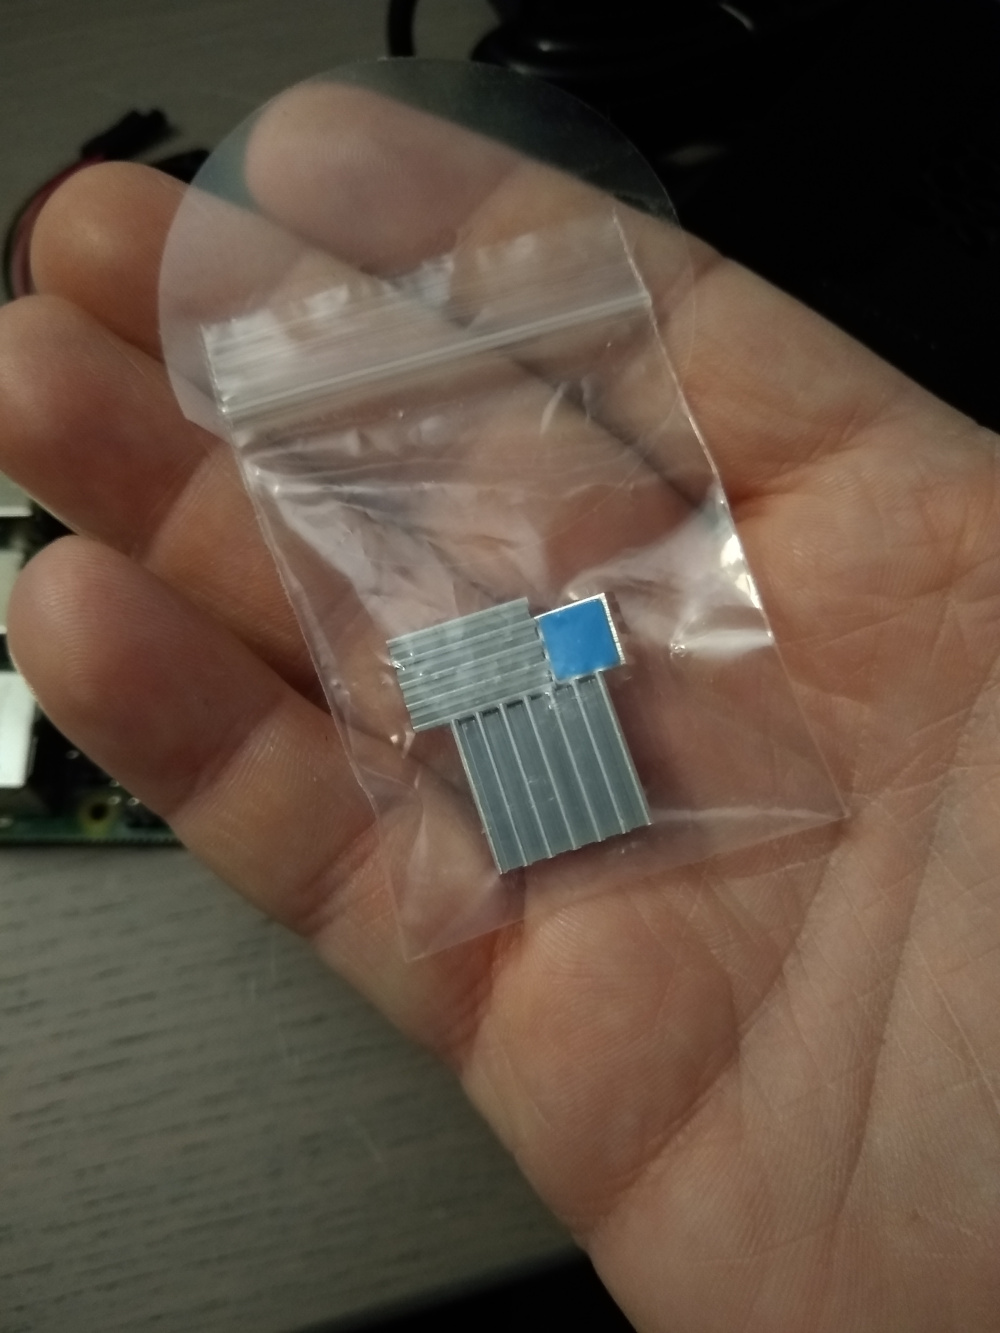
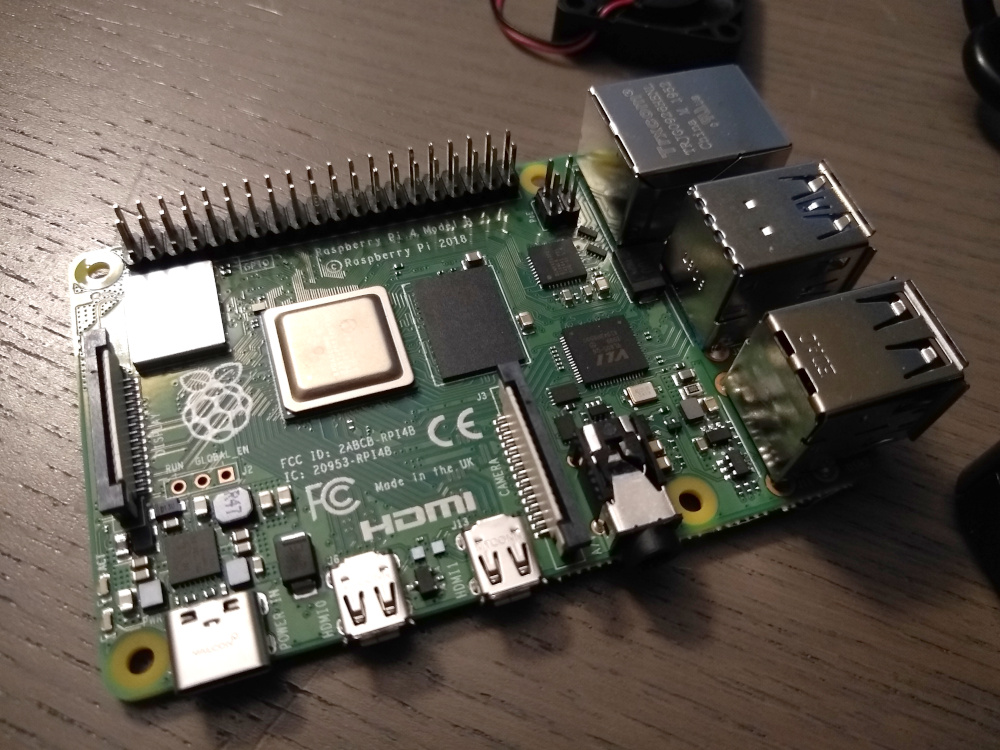
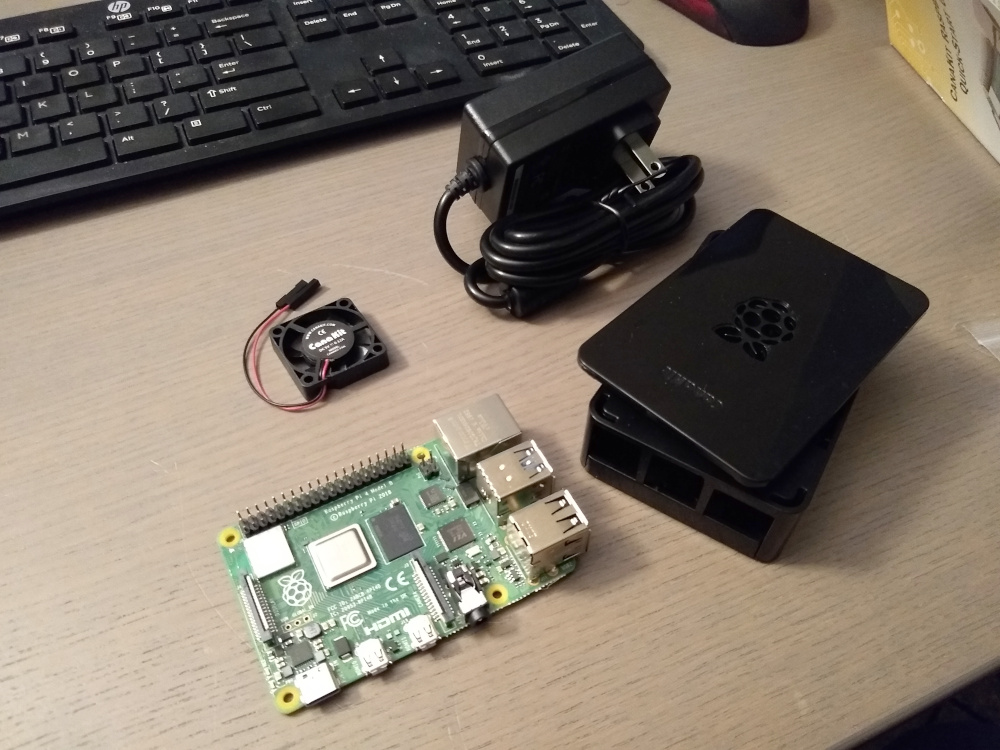
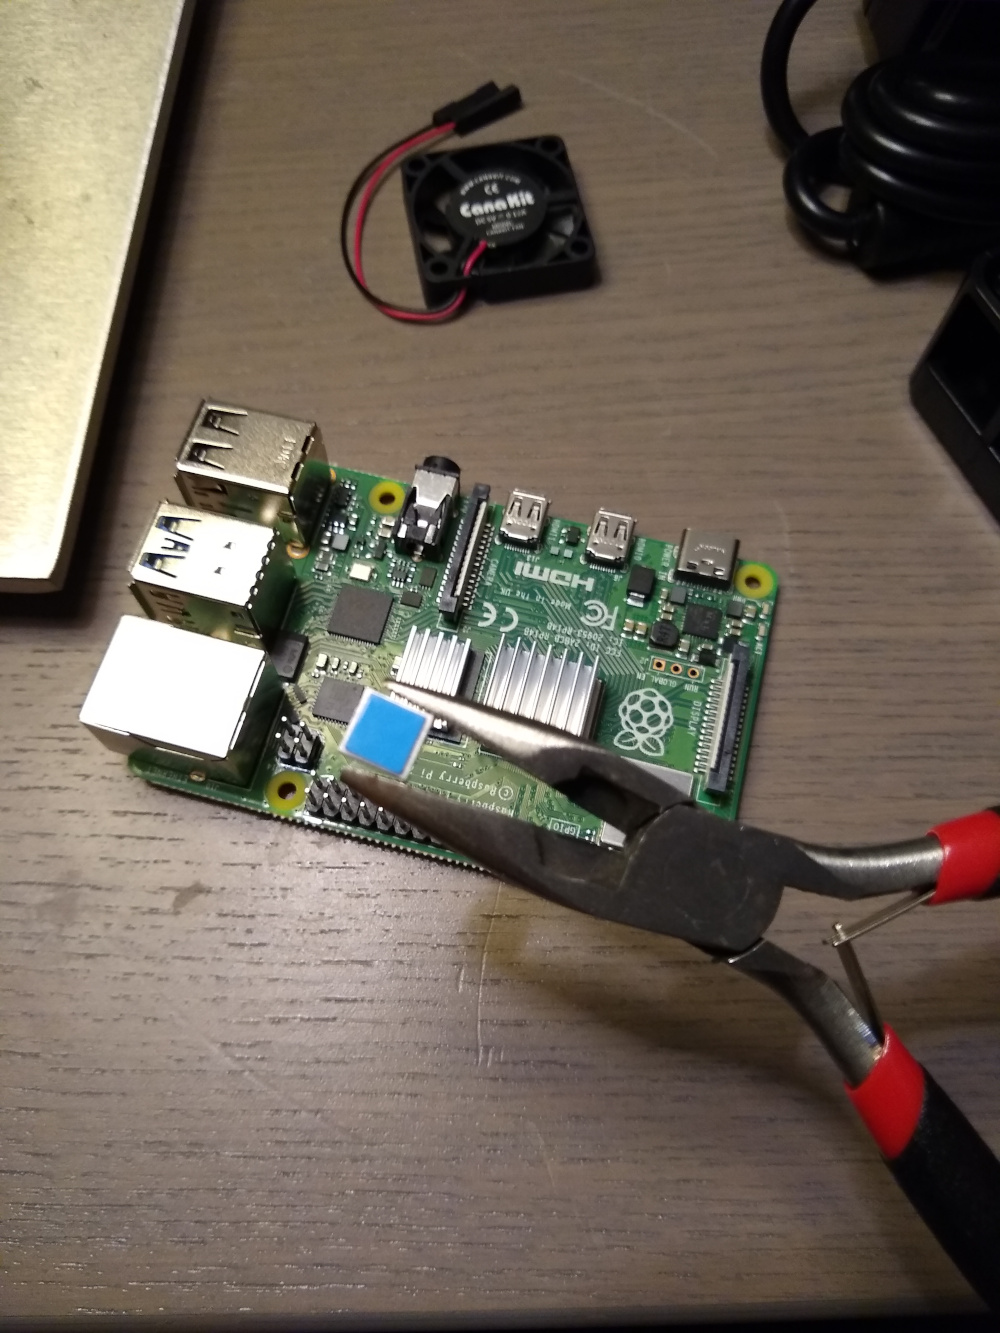
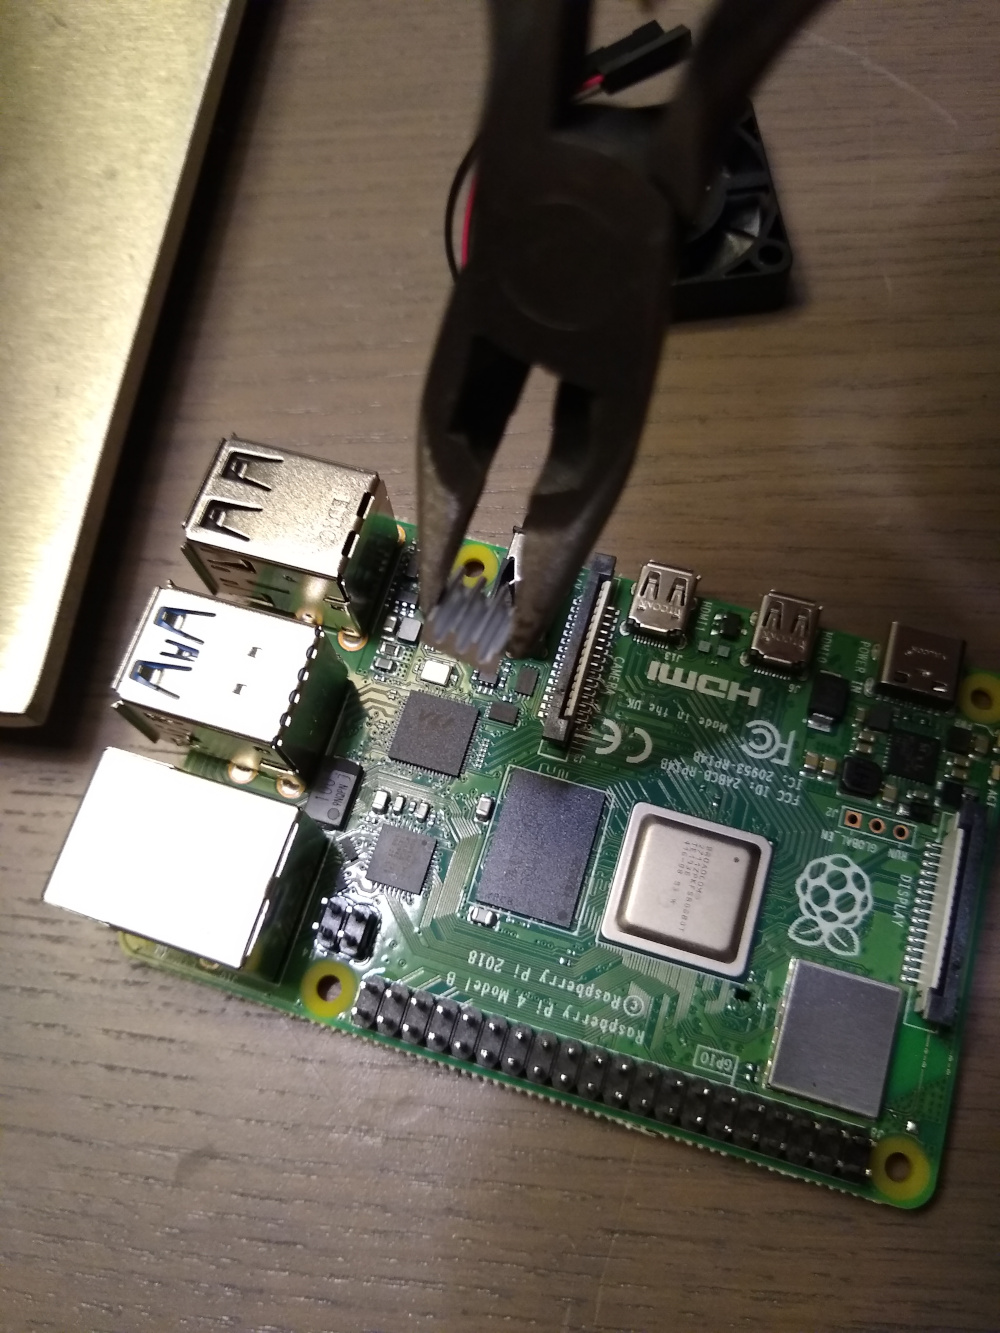
Seemed kinda simple at face value, especially since they didn’t require any thermal paste or anything. It was just a pre-applied adhesive that you just peel the protective blue plastic off and stick it. Easier said than done. These parts were small… especially the smallest one! To do it with my big fat fingers, well… I could already see that wasn’t going to work. Also, on the Model 3, the fins, I’m pretty sure, were all square, and there were only two of them. On the Model 4, there’s an extra cooling fin that’s super small, and new rectangle shaped one. Since the rectangle shaped fin could only be applied one way, I decided to apply the two remaining square fins so that the fins all faced the same direction. Not required, and nobody will see this because the case is actually solid black, but I try my best to be neat and tidy when it comes to putting computers together. Anyway, time to break out the needle nose pliers!
Step 3: Install fan
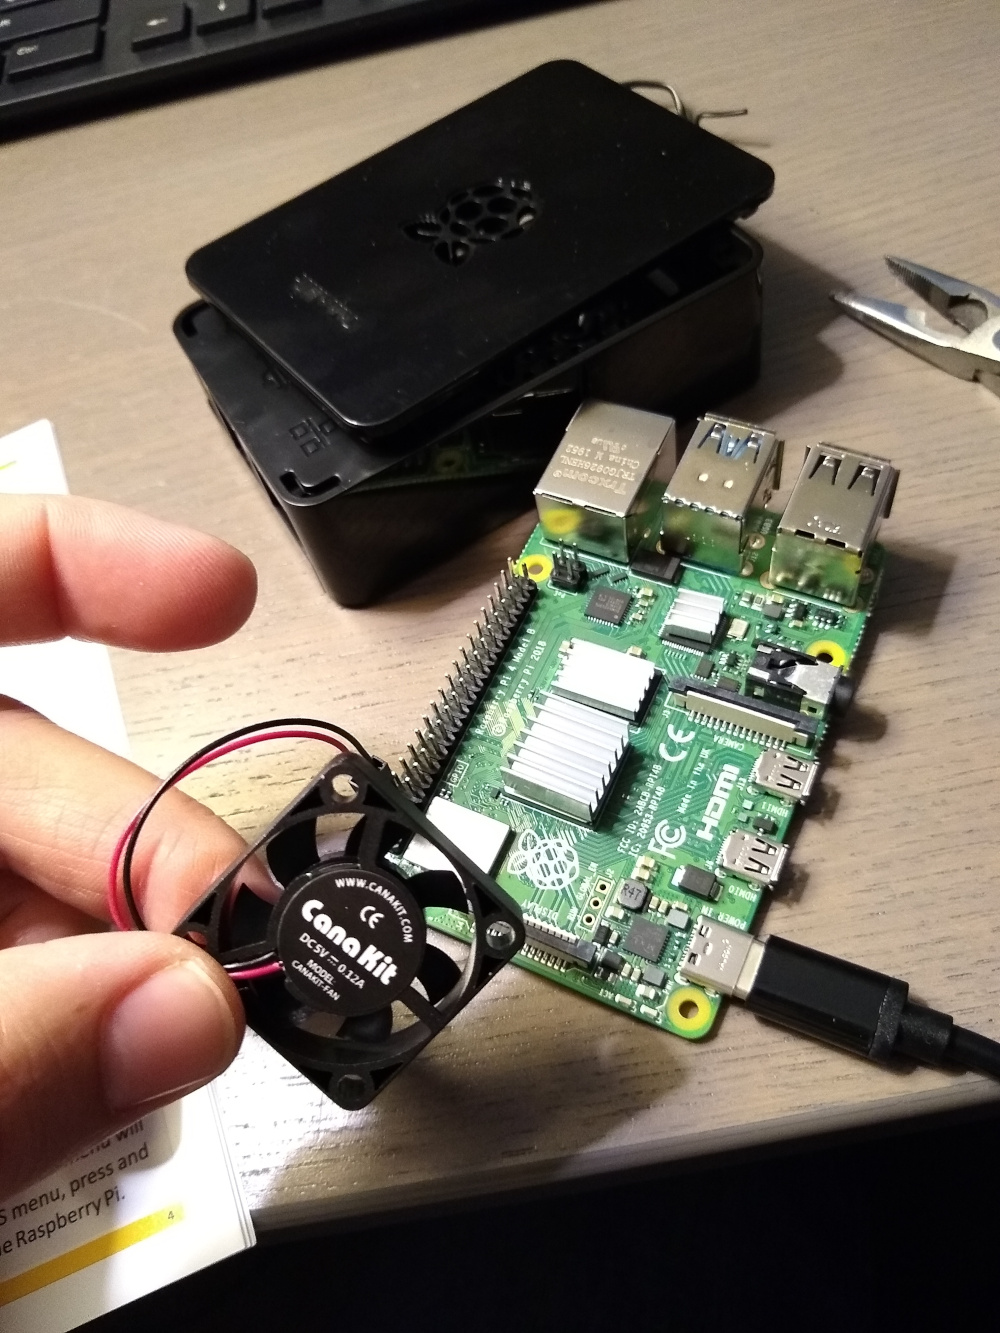
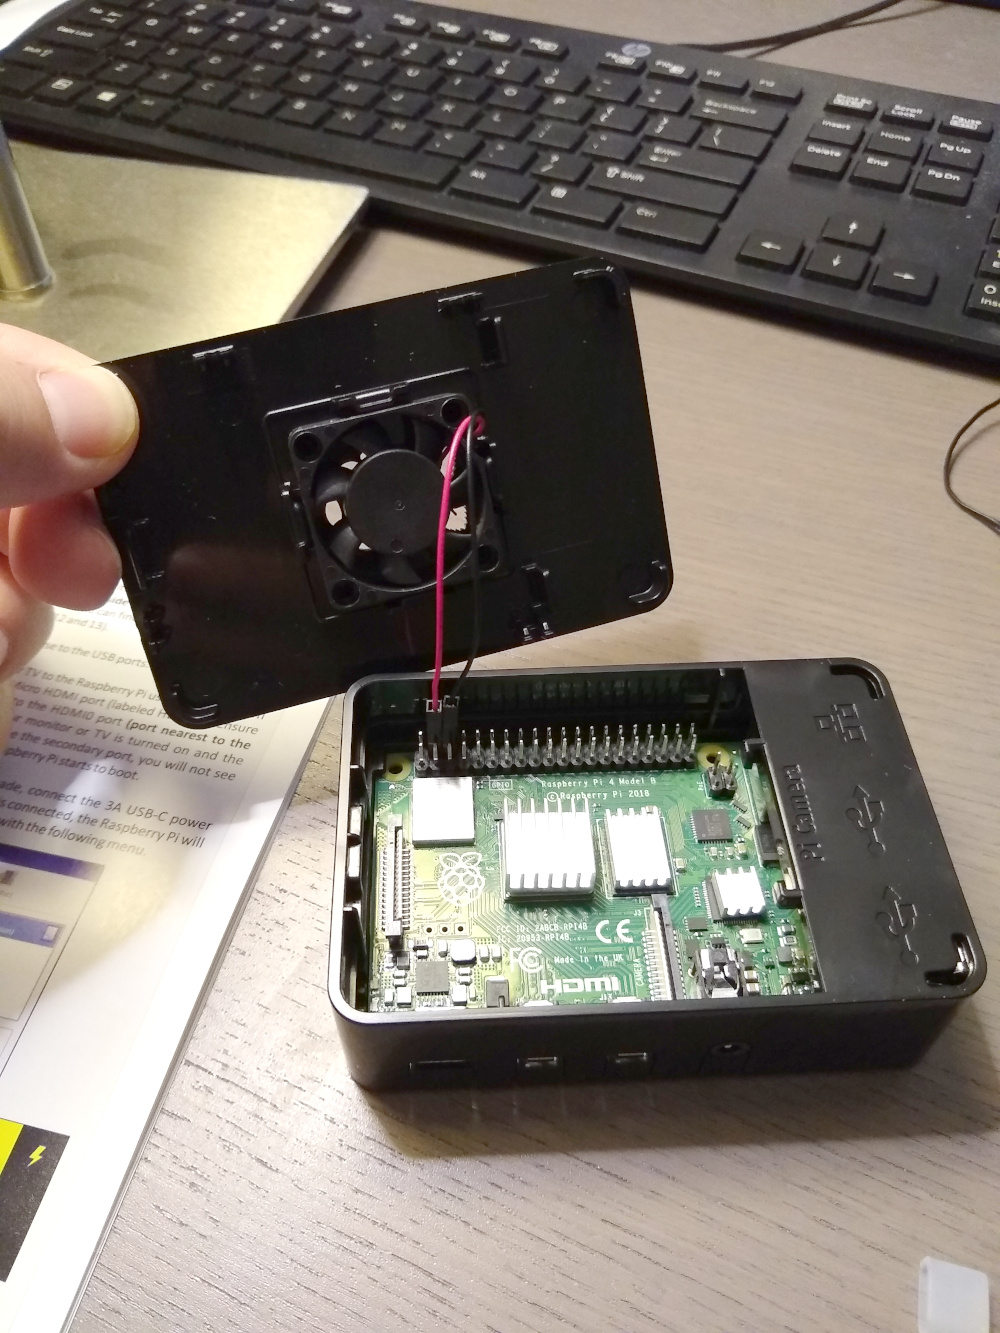
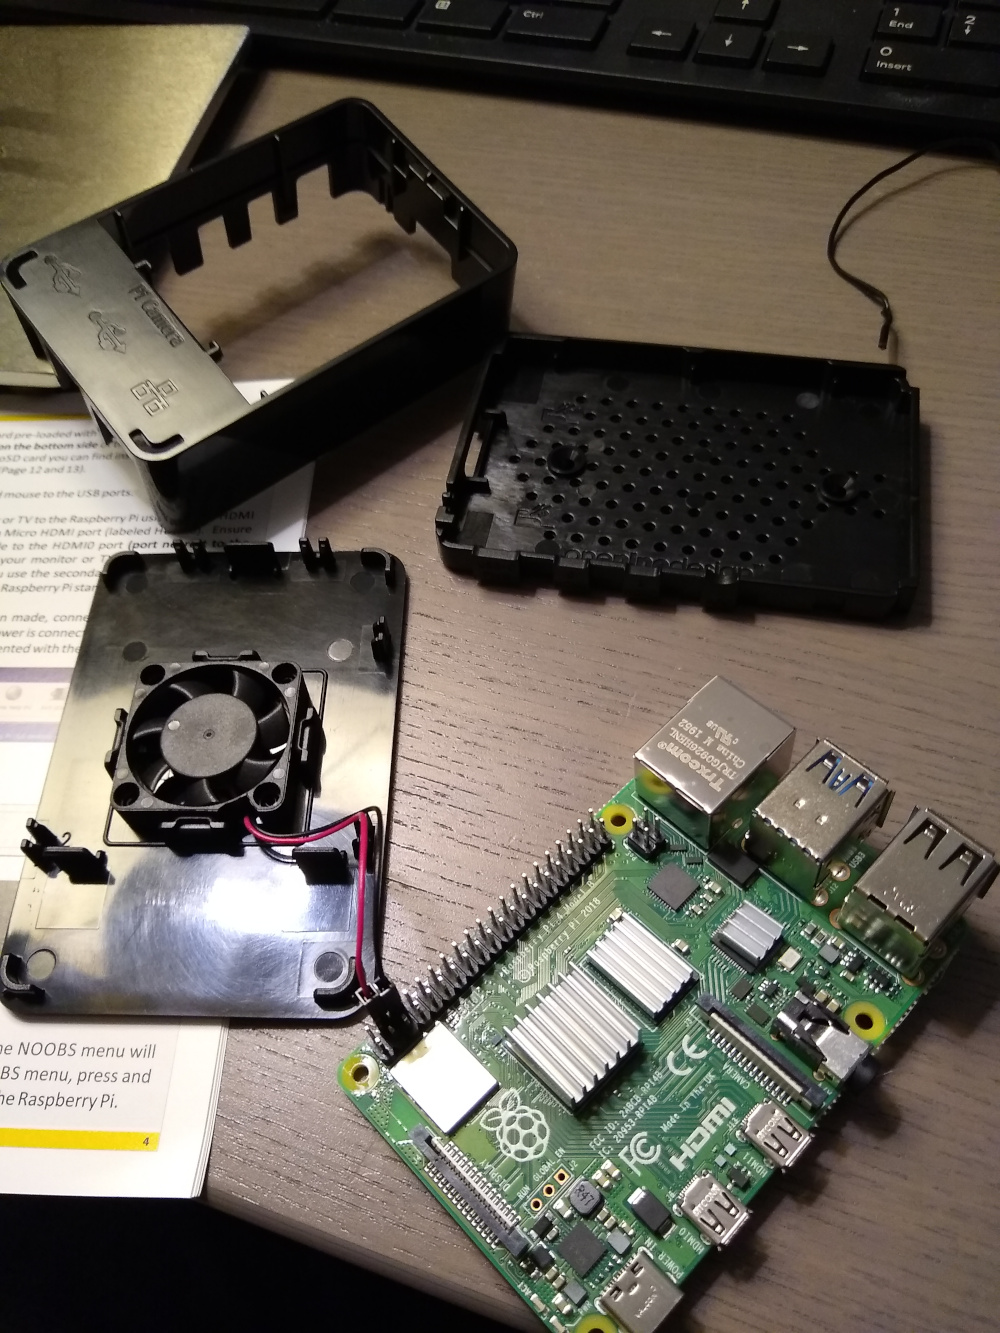
This one was actually pretty nice! My Model 3 didn’t come with a fan, I didn’t realize I needed a fan, but awesome! My only complaint (and it’s really not that big of a deal) was that there was no arrow on the fan that indicated air direction. So I just followed the instructions on the quick start guide to plug the wires into the GPIO pins, gave it power, and checked the air flow direction. For those of you curious, the air flows in the direction of the CanaKit logo. So instead of pulling air into the Pi case and not really having anywhere for it to go, I wanted the fan to pull hot air out of the case to promote cooling. I know it’s not like a full tower build where you’d actually have to consider airflow and pressure and heat and all that, but that was my thought process. It is a little computer, after all.[ ]
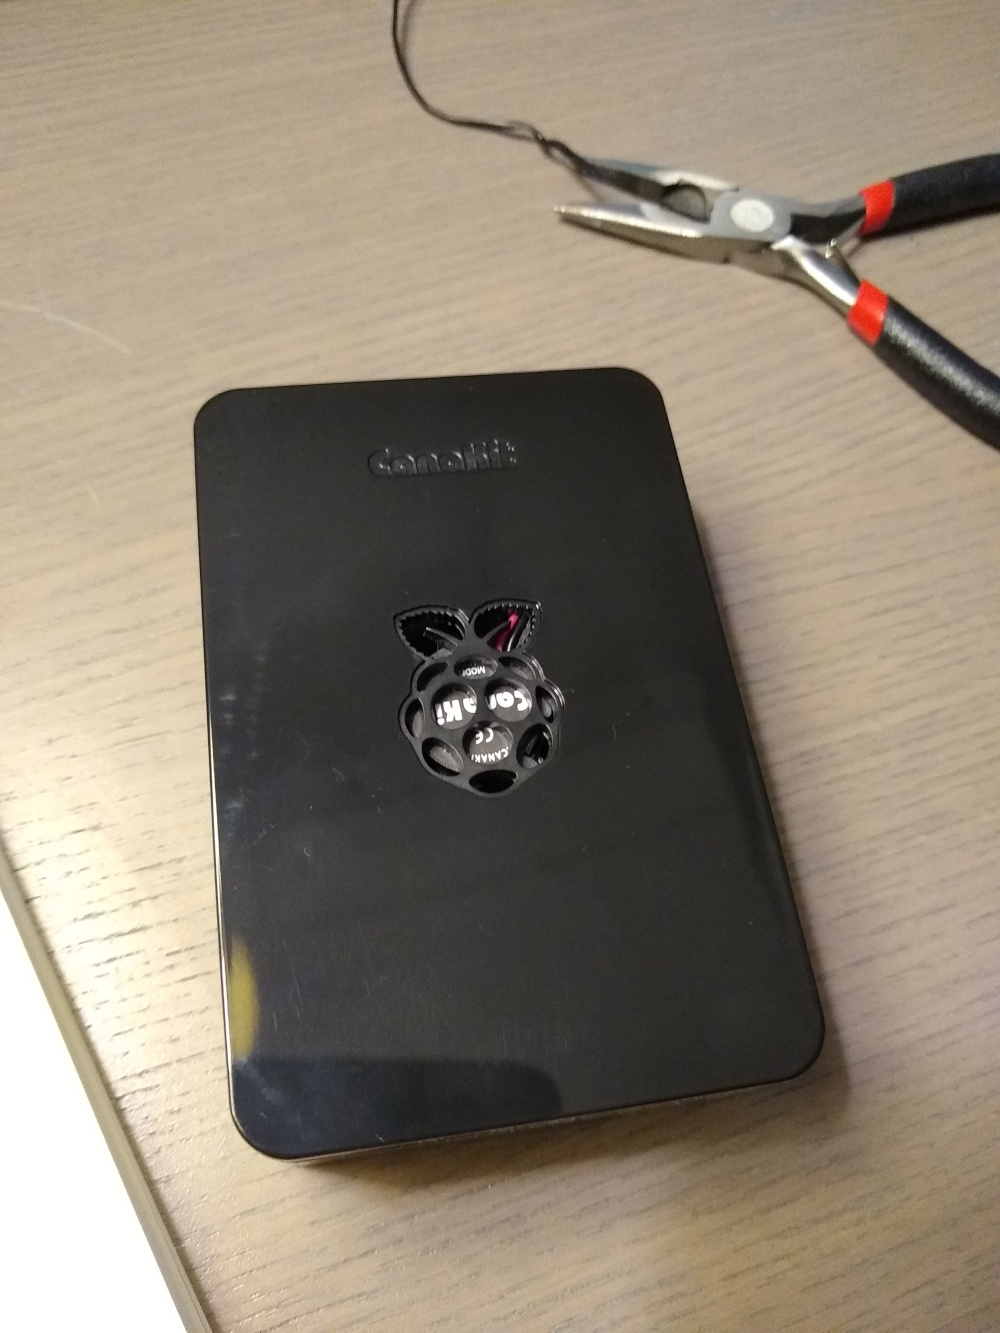
Once I knew the air direction, I clicked the fan into the top lid of the Pi case so the air would blow out of the Pi shaped vent hole at the top. I made sure the fan was still plugged in the correct GPIO pins (since I plugged them in once for testing, I needed to unplug them in order to attach the fan to the case lid) and sealed everything inside.
Step 4: Done!
Obviously, this was just covering the basic Pi assembly, there’s definitely a lot more to come. We haven’t even picked up the blank arcade cabinet yet! That happens next week. Get excited! Here we go!
-
Arcade Side Quest: Space Fighter
Last weekend, I realized I was spending a lot of time focusing on the artwork and visual design of the game. It had been a while (months) since I’d coded anything and even longer since I’d coded a game in Godot. So in an effort to knock the dust off, I decided to enter a 72 hour game jam.
Anyone will tell you that’s virtually zero time to do any sort of game, and that’s true. You’d have to scrap all things fancy and focus on just the bare necessities. A simple character design, a simple enemy, maybe some projectiles, and that’s it. Anything beyond that in 72 hours is icing. Oh, and the other thing- this game jam had a limitation that would be announced at the beginning of the jam. It could be anything from “must be beatable in 10 seconds” to “cannot use gravity”.
I was already nervous about the jam itself, because the jam is already difficult, and I’m coming out of a long coding hiateus. So the closer the weekend got, the busier it got. I already had a dentist appointment scheduled, so I knew that would take a chunk out of my time, and then I ended up having a few video shoots land on that weekend as well. By the end of it, I really only spent about 5 or so hours on the game.
Hour 1
The jam began around midnight local time and the limitation revealed was “cannot take place on Earth”. So my mind immediately went to the classic arcade game “Space Invaders”. I went to work creating the player spaceship. I ended up spending 10-15 minutes on this design.

Next up, I went for the easiest one. I needed some sort of bullet for the player to shoot, so I went with a simple white rectangle. That took about 10 seconds. Next, our player needed some bad guys or aliens to shoot. I took about 20 minutes on the alien ship design, and actually ended up liking the enemy ship design more than the player ship… Maybe I should have switched their roles and used the enemy ship as the player ship. Maybe next time.

Next, I wanted to get these sprites into the game enginee and give them some basic movement. To do this, I imported the sprite into Godot and promptly burned 30 minutes looking for how to turn off the image filter. The filter is enabled by default, which makes small sprites come out blurry in the game engine. Definitely needed a refresher on this one! Once I found the hidden check box, I was ready to dive into the code. I just used the default direction keys that are predefined in Godot. I lifted a little script from the Godot docs to acheive basic left, right, up, down, and diagonal movement.

Once I had basic player controls up and running, I needed to get him shooting something. Next, I imported the bullet sprite, and attached a script to it that told it to travel up on the y axis at a fixed speed. Once that was done, I saved the bullet as a scene so it could be instantiated in the game as many times as I needed. The only problem that remained was getting rid of it. If I fired 20 million bullets over the course of my gameplay, the game would run great at first, but eventually, the engine and/or device would hit a limit and wouldn’t be able to process 20 million bullets continually moving through the game on every frame refresh (on screen or not). So to fix this, I gave the bullet a 3 second timer, connected it to the script, and when the timer expired, the bullet would execute
queue_free()or remove itself from the game.Hour 3
Now it was time to set up some basic rules in the game world. I wanted to fire a bullet when I hit spacebar, it flies up the screen, and if it overlaps with the collider that’s attached to an enemy spaceship, then delete both the enemy space ship and the bullet that hit the spaceship. That code was injected into the bullet object, so each bullet is looking for an overlap. So each time it overlaps with something, it checks if the name of that object is “Enemy”. If it is, then it will set itself to be invisible, stop moving upward, make an explosion animation visible, play an explosion sound effect, and play the explosion animation… then after 3 seconds the whole thing gets deleted regardless if it hit an enemy ship or not.

Hour 5
After lots of trials and errors, I finally ended up with a somewhat playable… something. It’s not really a game because there’s not way to keep score and no way to actually win or lose the game. If the enemy ships contact the player, nothing happens. If the player shoots an enemy ship, it blows up, but there’s no score or anything. So it’s pretty much an infinate shooter with no score.
Also, before I forget! When I was creating the script for the word, I didn’t want any enemies or bullets to already exist in the world. I wanted the enemies to just show up randomly (from the top of the screen, flying down toward the player) and bullets to appear when the player hit the space bar. So to do this, I saved the enemy ship as a seperate scene so I could instantiate it whenever I needed it. I attached a timer to the world scene to expire every 1 or 2 seconds ( I forgot how long, but it was defnintely expiring every 3 seconds or slightly more frequently). Every time the timer would expire, the world would instantiate a new enemy ship somehwere at random just above the screen, so they would start flying down into view.

TIME’S UP, PENCILS DOWN
Here’s what I ended up walking away with. And more importantly, along the way, I learned how to export a Godot project as a Linux executable for the first time. Previously, it had only been HTML exports. So yay! Speaking of which, here’s the HTML version:
CONTROLS:
Arrows keys move up, down, left, right, diagonal
Space bar to shoot.
Make sure you click the game before you play it, so it will know to recognize your inputs are for the game, not for typing 😀
-
Blocking Out Willow’s Run/Skate Animation Cycle
I have to admit, starting the animation cycle was pretty intimidating. Especially when I’m staring at a nearly finalized version of the main character. Luckily, I came across a tutorial that got me an EXCELLENT head start on creating the run/skate cycle. I ended up just creating a new project file to begin the animation cycles.
The tutorial I followed was actually doing a common run cycle, but for my use case, I needed to convert it to a “skate” cycle, since WIllow will be skating through all the levels of the game. After doing some initial research on roller skating in an effort to find a profile video of someone skating past the frame. Unfortunately, I was unable to find a video of that specific skate cycle reference, so I just ended up modifying the run cycle from the tutorial to a skate cycle.
First I started out by importing a copy of the character sprite into a smaller canvas for scale reference. Then I created a new layer for the head and 8 new frames. I started bobbing the head up and down in a “running” motion. Next, I created a rough forearm shape and swung it back and forth. Next the lower legs, upper legs, upper arms, and torso. Once all the body parts were connected and felt like they were making the appropriate running motion, I started to modify it. I ended up sliding the legs more rearward to give the impression that the weight was resting on the front foot for slightly longer as the body was sliding forward. The resulting animation is still pretty rough and will likely change, but I think it’s an okay start. I’m going to try to enter a 72 hour game jam this weekend, but I’m not sure how I’ll do because my weekend just piled up with outside work. We’ll see how it goes!

Running into the weekend like..
-
Starting Pixel Art Character Design
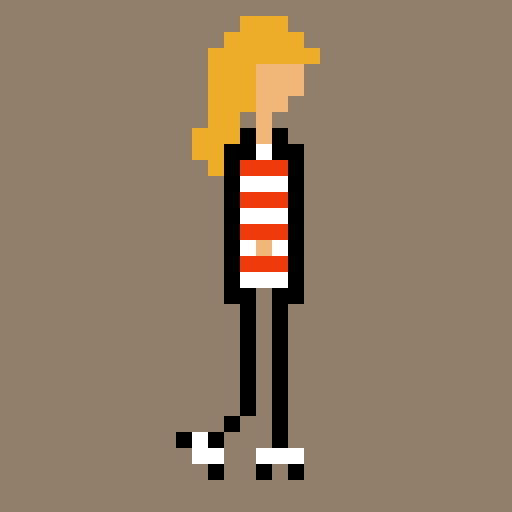
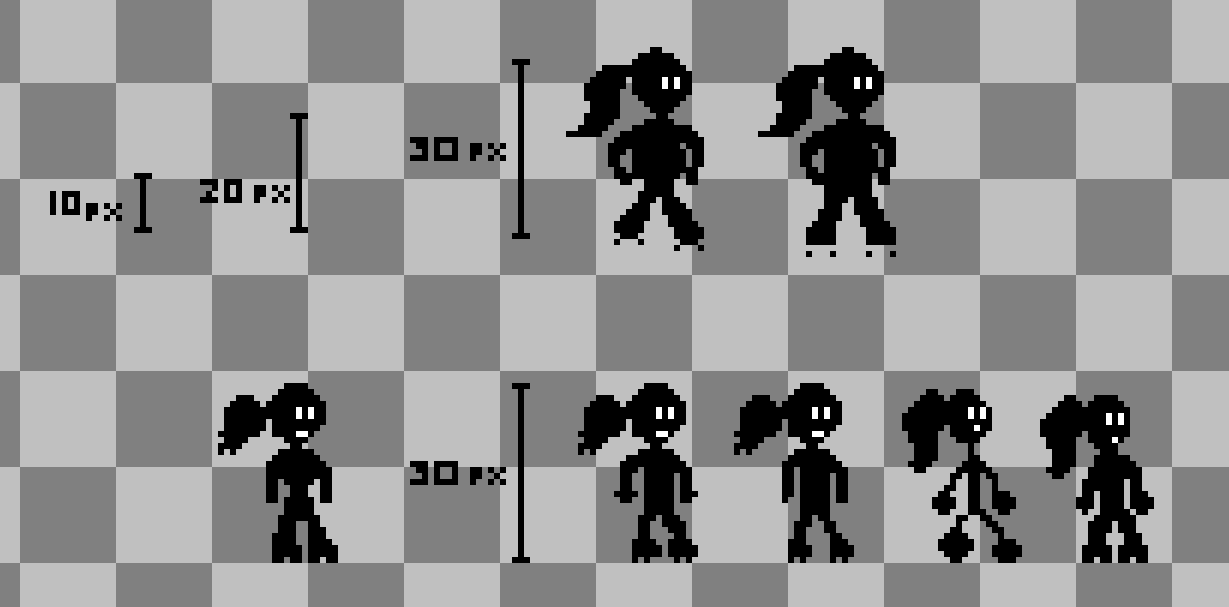
Yesterday I began work on the first (of many) pixel art character designs that will be featured in the upcoming Light Quest arcade game. After some initial research, I found several pixel artists that recommended starting with a silhouette when designing a character. This achieves several things. First, it helps you create an iconic character that would be easily recognizable by its shape alone. It also helps create a clean design to help better feature the main attributes of the character. In the case of Light Quest, the main character named Willow, is a young girl around age 12 who is almost always seen wearing a pair of roller skates. So in the silhouette, I wanted to make certain that you were able to make out the fact that she was wearing roller skates.
Level Select Screen
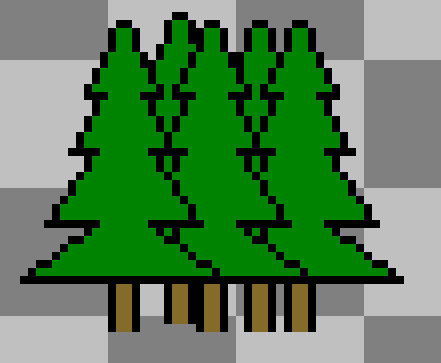
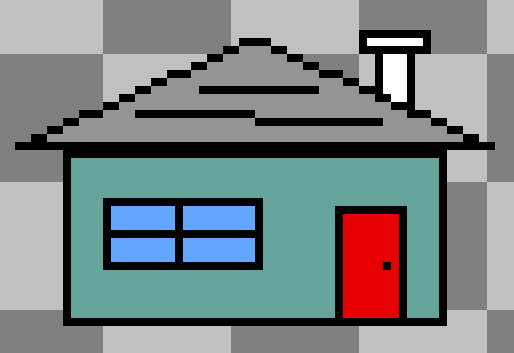
In addition to beginning work on the initial character designs, I also began work on designing the various elements that will ultimately comprise the “Level Select” screen. This will be presented as a map of the town that Willow lives in. The icons that represent each level are a house, a pizza shop, a warehouse, a forest, and a lighthouse. The ground of the map (dirt paths, paved roads, sidewalks, and grass have yet to be developed, but will likely be designed separately. The idea is to have a top-down version of Willow’s sprite that will walk up, down, left, and right in order to ‘choose’ the level. Once Willow enters the level, it will switch to a side-scrolling platformer-style level design.
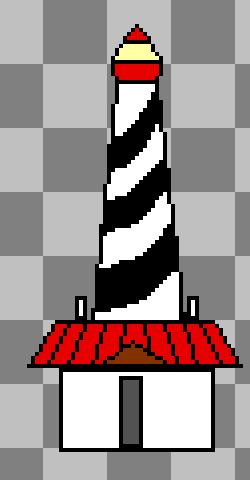
Honing in the (Final?) Design
I feel like it took me a long while (maybe around 2 days, while not working on it all the time) to get close to the design as present. My biggest pitfall was actually just starting! Once I had a few blobs put down I was able to make several iterations before I got stuck. After that, I just did the entire process again. Just put a few different blobs down, got a different main shape, then made a few iterations before adding color. All in all, I thought it was really fun! I’m looking forward to creating more characters in this new (to me) style.

-
Learning to “Pixelize” Anything and Everything
Yesterday I managed to compile Aseprite for my Linux laptop so I could officially get started with the game. I’m going to tackle pixel art graphics first because it will help define the look of the game, the style of the artwork, and color palette. Once all (or most) of the pixel art graphics are created, then I can begin work on the actual programming. This is still the extreme early stages, so there are still a lot of specifics yet to be discovered about how the game will eventually look and feel.
Learning a New Pixel Art Form
One of the most helpful sources for learning this new pixel art thing has been Brandon James Greer. His videos have been insanely useful for learning the basics of pixel art and changing the way you approach creating new art. Please give that guy a subscribe!
Select the Smallest Detail That You Want Visible
When selecting a person, object, or character to create in your pixel art, one of the first steps is deciding how much detail you’re willing to lose, and where those losses of detail occur. If you’re creating a car, what’s the smallest detail you want to make out? Do you want to have a license plate visible? Readable? Once you’ve decided on that level of detail, create that smallest detail and work your way out from that detail. But also keep in mind that, depending on which detail you choose, that will impact your next most important decision when starting out.
Select Your Canvas Size
Depending on what your ultimate goal is, this one might actually be your first choice. Knowing which resolution to design in will ultimately impact the amount of detail you can realistically include. In my situation, I’ll be using my pixel art to animate walk/run/jump/idle cycles, and create spritesheets and tilesets for a retro inspired arcade game. With that in mind, I’m using the original resolutions of classic console hardware as a starting point for my designs. The NES console’s resultion is 256×240. With that information, I can start designing my character within the context of the entire screen so I’ll know just how that character will look and feel within the space of the entire screen.
Reference For Getting Started
Again, Brandon has been a huge help in teaching me the basics of pixel art and how to get started with the sizing and scaling of the characters in the screen space. Just for everyone’s reference, I’ll leave you with this excellent video on the subject.
-
Building Aseprite
After watching several videos on the topic of pixel art, researching some of the artists in the top of my search results, I decided to make the leap and change up my graphics creation strategy. For me, personally, it took quite a bit of time to figure out how to compile the software from scratch (because I had to compile some of the dependencies as well), but without further ado, here we go.
Step 0.0: CMake
I started off like normal, I guess, cloned the repo, and got to work inspecting the files, README, INSTALL, etc. I went through the process for several minutes only to find out that my version of CMake (installed like
sudo apt install cmakewas several versions behind the minimum requirement. I rancmake --versiononly to find out that I was running version 3.10 when the minimum requirement is 3.14. So if you already have CMake 3.14 or above, you can skip this step. Otherwise, here’s how you update.First off, you’ll want to get rid of any old versions of
cmakeby runningsudo apt remove cmake. After that, head over to https://cmake.org/download/ to grab yourself an updated copy ofcmake. I ended up downloading the source code and building from scratch, but that’s not completely necessary because there are several pre-built binaries available as well.Step 0.1: Clone that Repo
This one’s pretty straightforward. Just make sure you have git installed and run
git clone --recursive https://github.com/aseprite/aseprite.gitThe next step is getting all of the tools required to build Aseprite. This can be found in
INSTALL.mdStep 0.2: Get your tools
This is the very first step in
INSTALL.md. There are step-by-step instructions inside that pertain to every operating system. Just be sure to read them carefully! This is the part where you installcmake, but just be extra sure to check your version by runningcmake --version. If you don’t have version 3.14 or higher, refer to step 0.0.Just to reiterate, the command to install all your dependencies in one go is
sudo apt-get install -y g++ cmake ninja-build libx11-dev libxcursor-dev libxi-dev libgl1-mesa-dev libfontconfig1-devagain, just make sure to double check your version ofcmake.Step 0.3: Make sure you have Skia
This one was a little tricky because this dependency wasn’t actually covered in the dependencies install command from step 0.2. It very well may be because Skia is actually a graphics library made available by Google, and thus, not available on traditional linux repositories. More information on the Skia project can be found at skia.org.
Inside the
INSTALL.mdfile that you got when you cloned the aseprite repository, there are some notes regarding the moment you runcmake. You have to run it from inside thebuild/directory (which you’ll need to create), and you will need to define where you have either compiled or decompressed your copy of Skia. The example directory (the default defined in the providedcmakecommand) is$HOME/deps/skia/or something similar.You can either compile
skiayourself using the step-by-step guide provided by the team at Google, or, conveniently enough, the team behind Aseprite has a precompiled binary just for you! All you have to do is drop it in your$HOME/depsfolder and continue with the steps to compile. Aseprite’s precompiled binary of skia can be found at https://github.com/aseprite/skia.Step 0.4: Run CMake
Once you’re done cloning the repository, you’ll want to go inside it with
cd aseprite. Next you need to create a folder to build your files inside of, since builds inside the source aren’t allowed.mkdir build && cd build/.The basic syntax of
cmakeiscmake [path/to/source/containing/CMakeLists.txt] [OPTIONS]. So from inside yourbuilddirectory, you’ll need to define the source (one folder up). Then from there, you’ll need to tellcmakewhere yourskiafiles are. More information on this can be found in theINSTALL.mdfilecmake -DCMAKE_BUILD_TYPE=RelWithDebInfo \ -DLAF_BACKEND=skia \ -DSKIA_DIR=$HOME/deps/skia -DSKIA_LIBRARY_DIR=$HOME/deps/skia/out/Release-x64 -DSKIA_LIBRARY=$HOME/deps/skia/out/Release-x64/libskia.a -G Ninja ..Step 0.5: Run Ninja
Almost there! Once you’ve build all the files using
cmake, and you didn’t encounter any errors, congrats! You’re almost there! If there are any more errors to come (in my experience) they’ll be on this very last step. The last command inINSTALL.mdisninja aseprite. That will actually start the build process and end up spitting out an executable binary that you can launch once everything is finished running.Step 0.6: Run Aseprite!
./asepriteand enjoy your fresh copy of Aseprite!