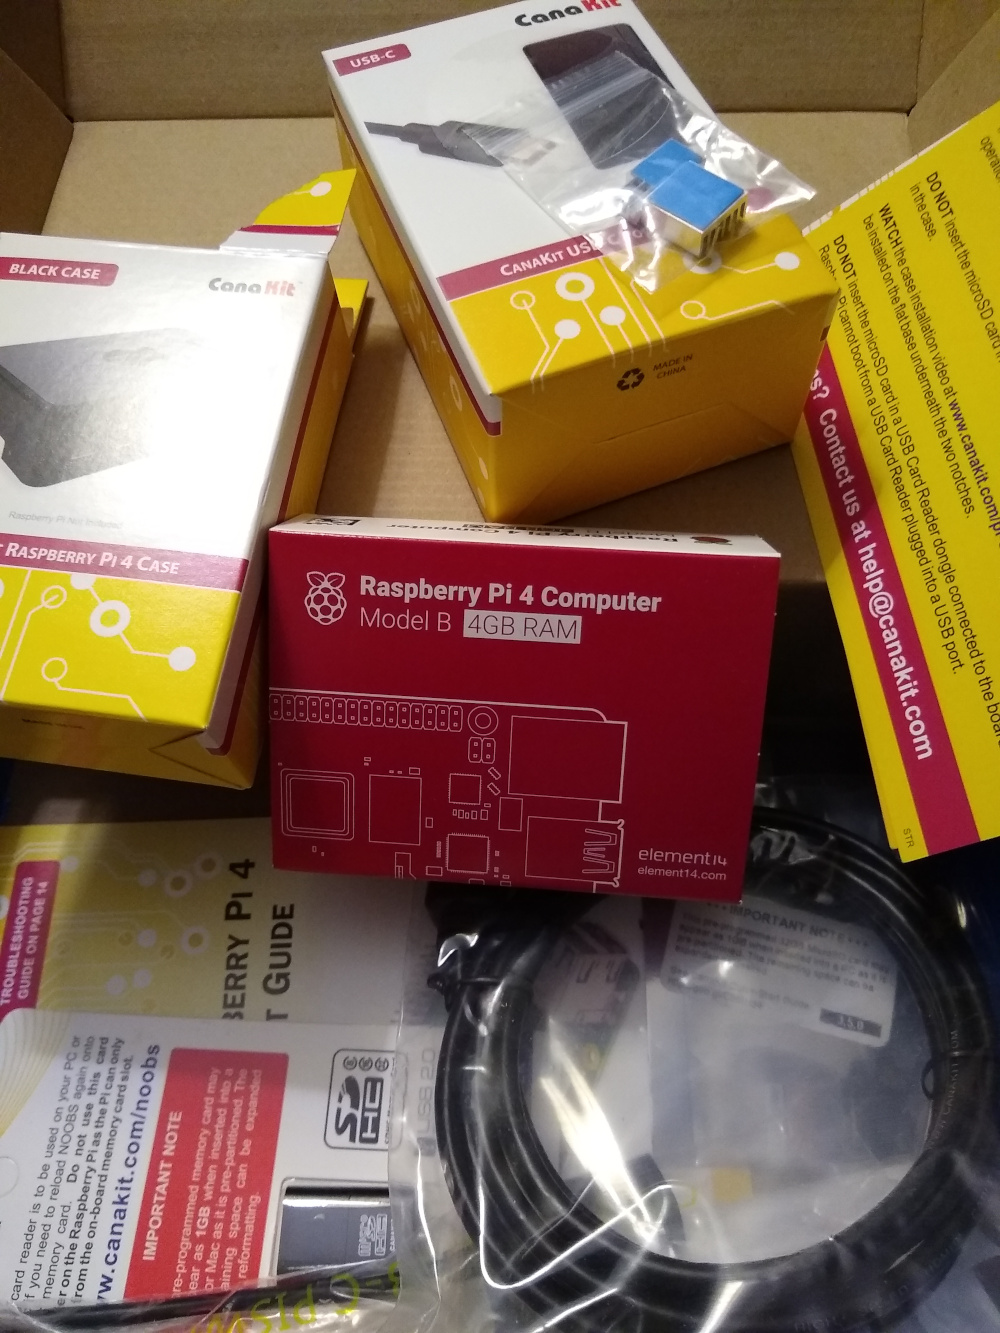
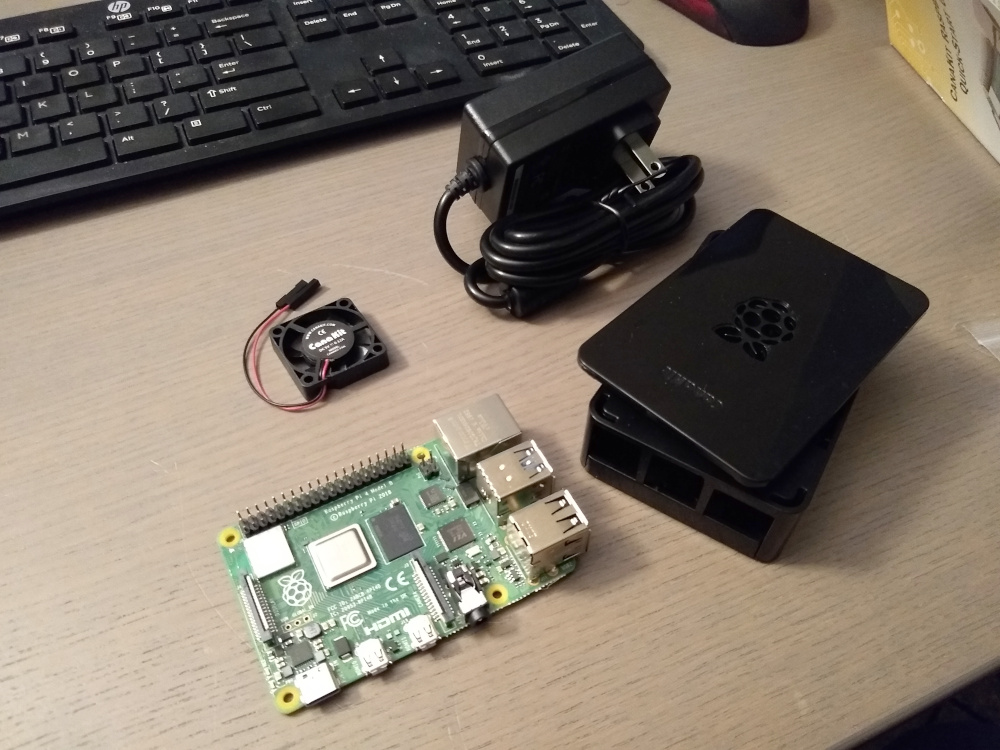
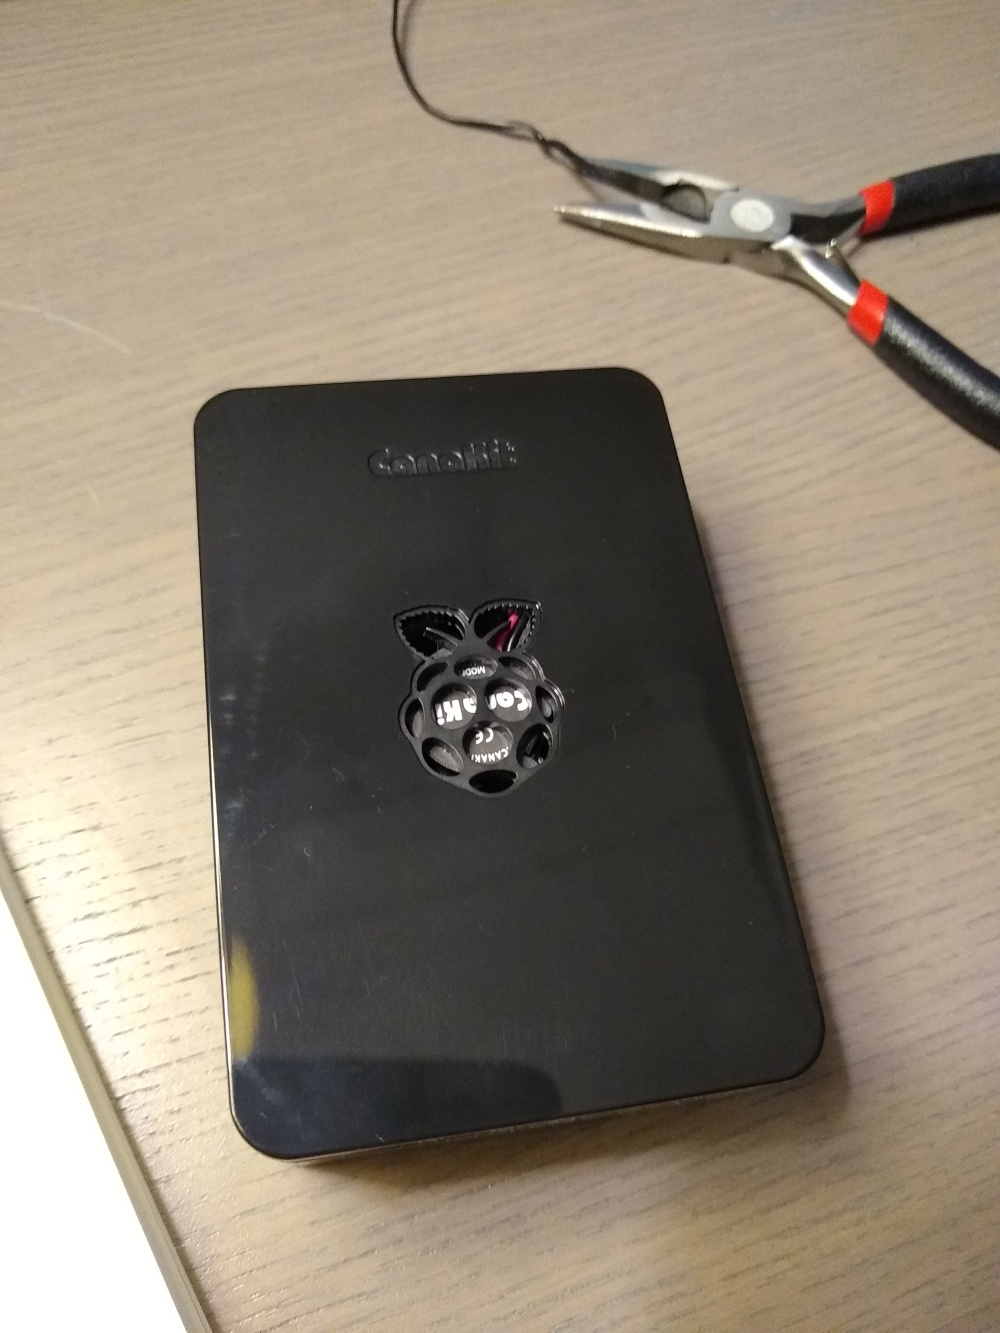
Today was a good day! The parts arrived for the arcade cabinet build. I got a Raspberry Pi 4 kit with case, pre-programmed SD card, HDMI to micro cable, power, and a DIY arcade kit that included several different colored buttons, joysticks and parts. Woo!
Step 1: Take everything out of the box(s)
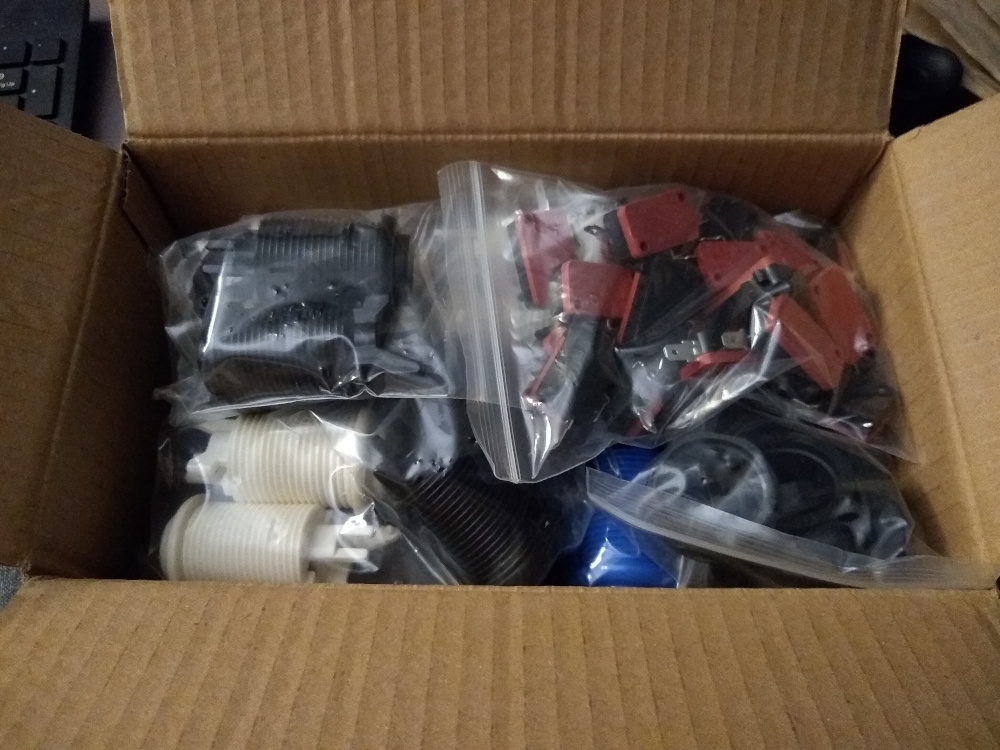
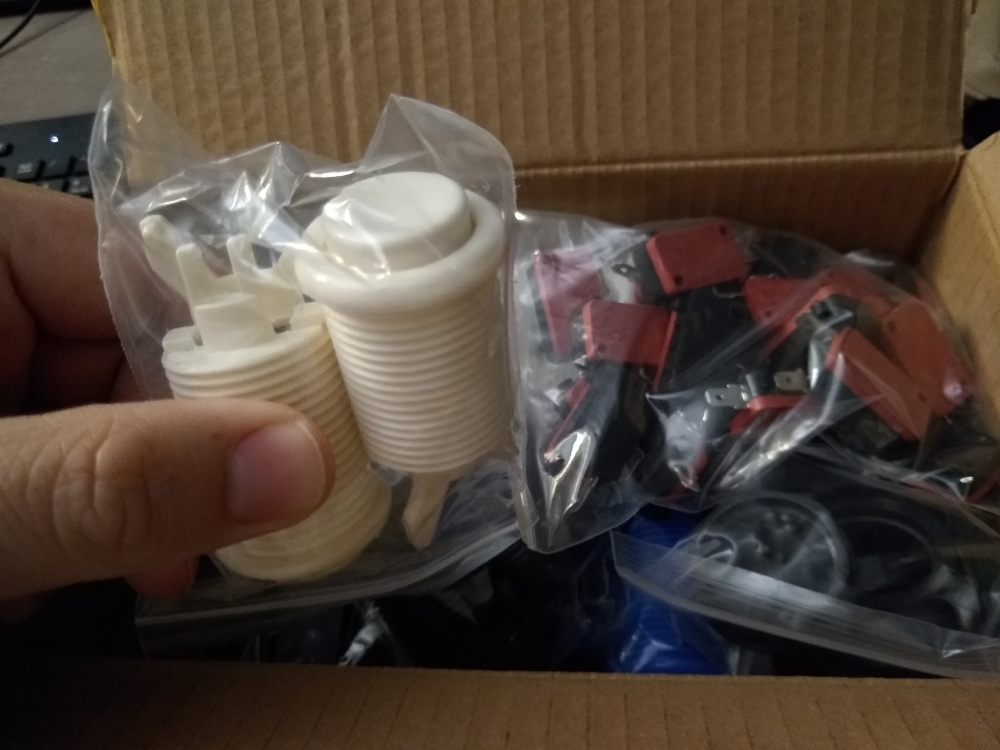
There was actually quite a large number of parts that all arrived in something the size of a shoe box. The Pi and all of its components and then the arcade hardware and all of their components. To be fair, the buttons and joysticks had a great feel to them. They were nice and weighty, and the joysticks had a very satisfying click when you moved it any direction.
Step 2: Apply Cooling Fins to Pi
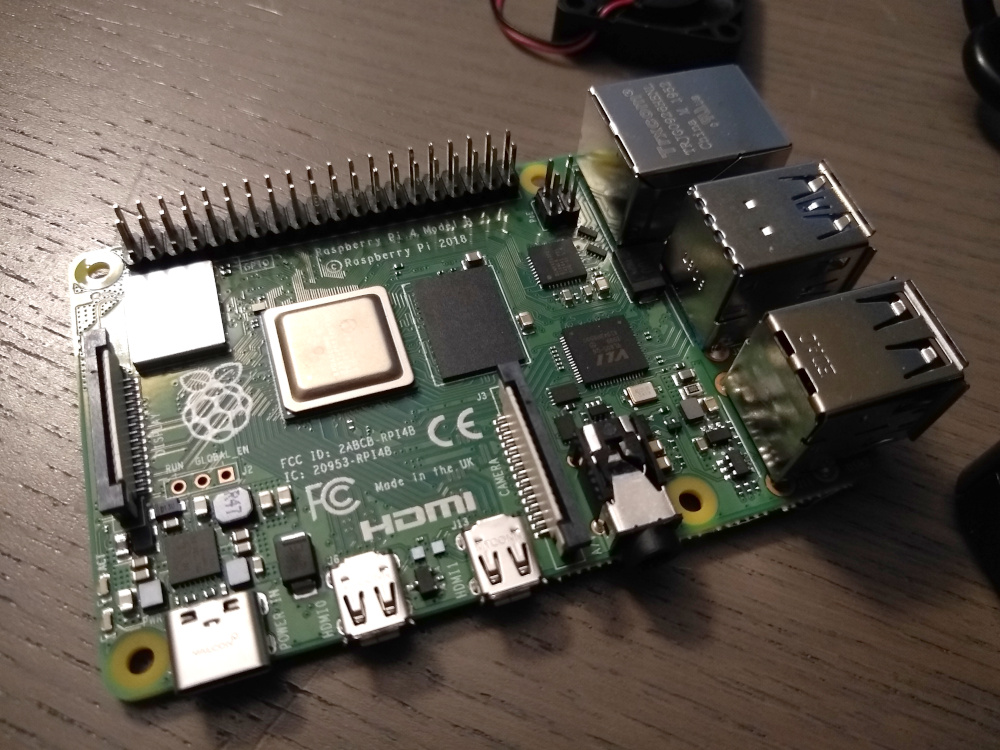
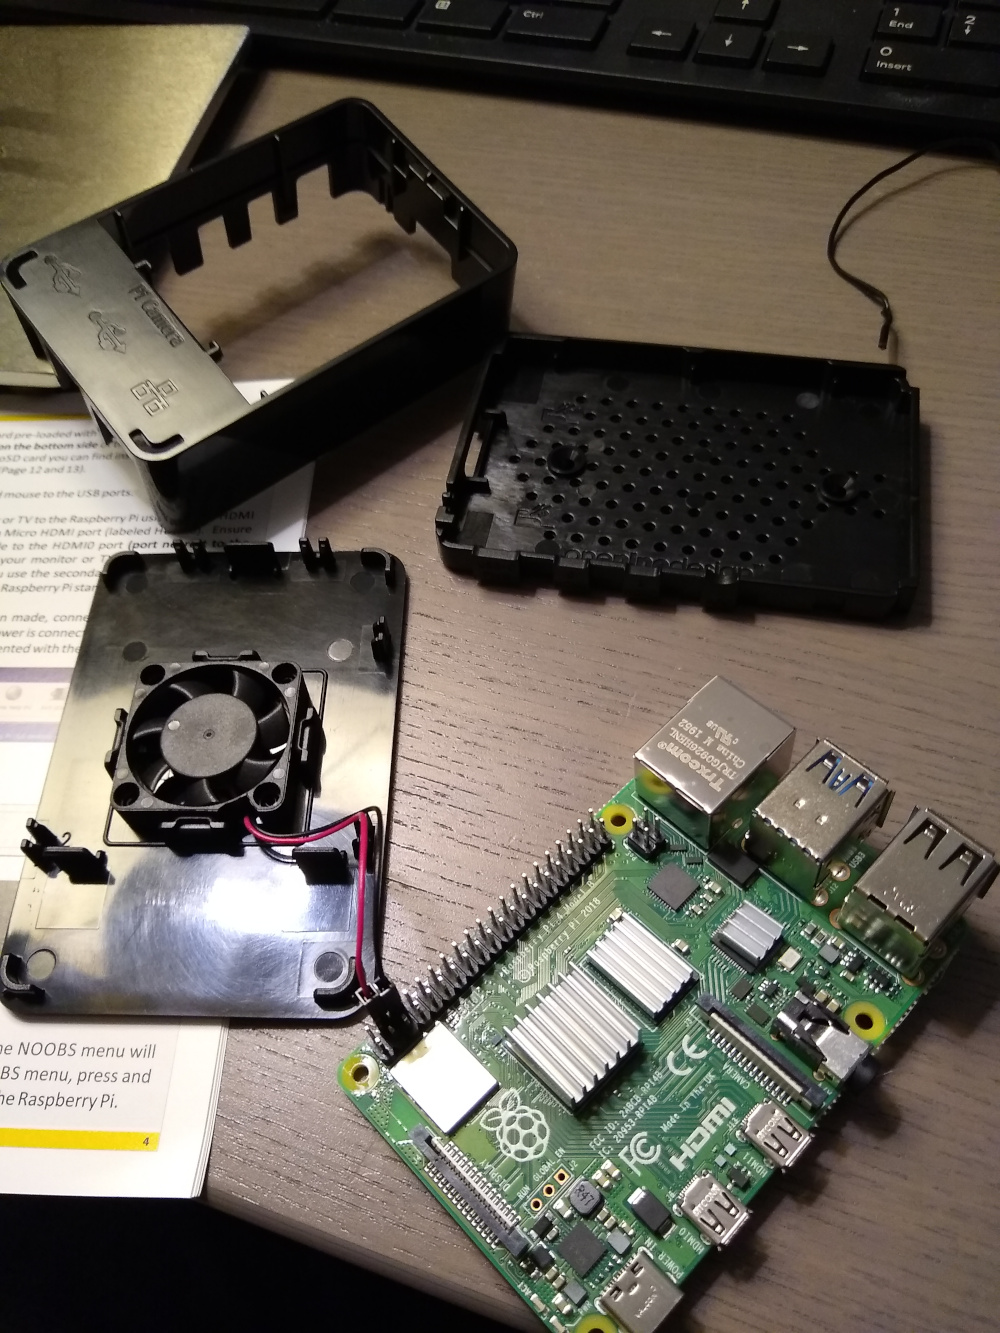
If you’ve been following my posts for some time, you’ll have probably run across a few posts that have covered some projects that were completed using the Raspberry Pi 3b+. This arcade cabinet will be completed with the model 4, so I’m really excited to check out some of the differences between the two models. One of the first differences I noticed right off the bat was the USB-C port for power and dual micro HDMI ports for multi-monitor support. Nice! First up, installing the included cooling fins to keep the Pi cool when it’s working hard.
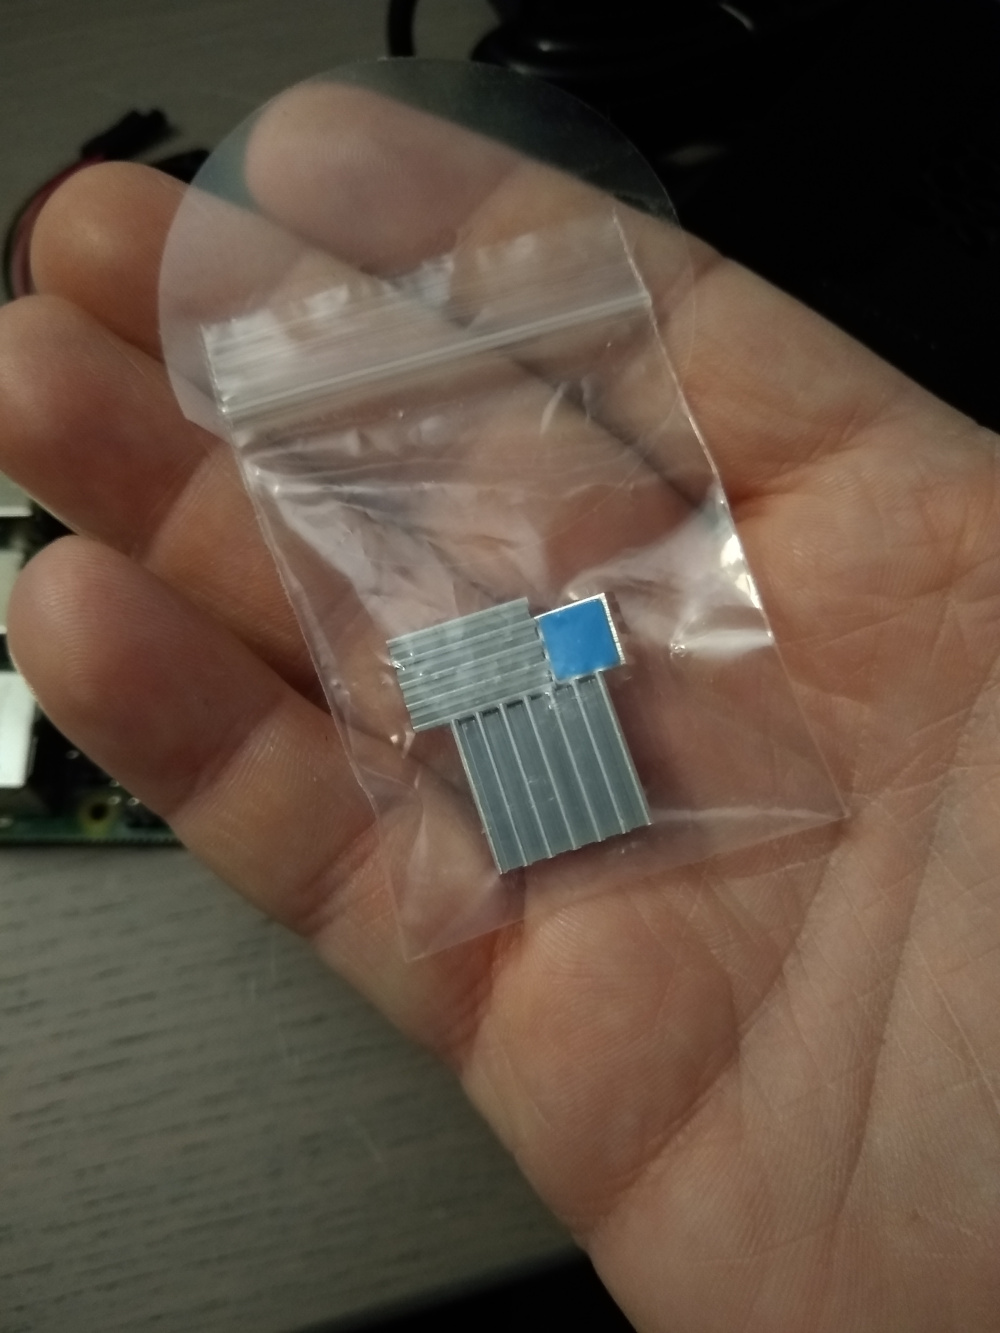
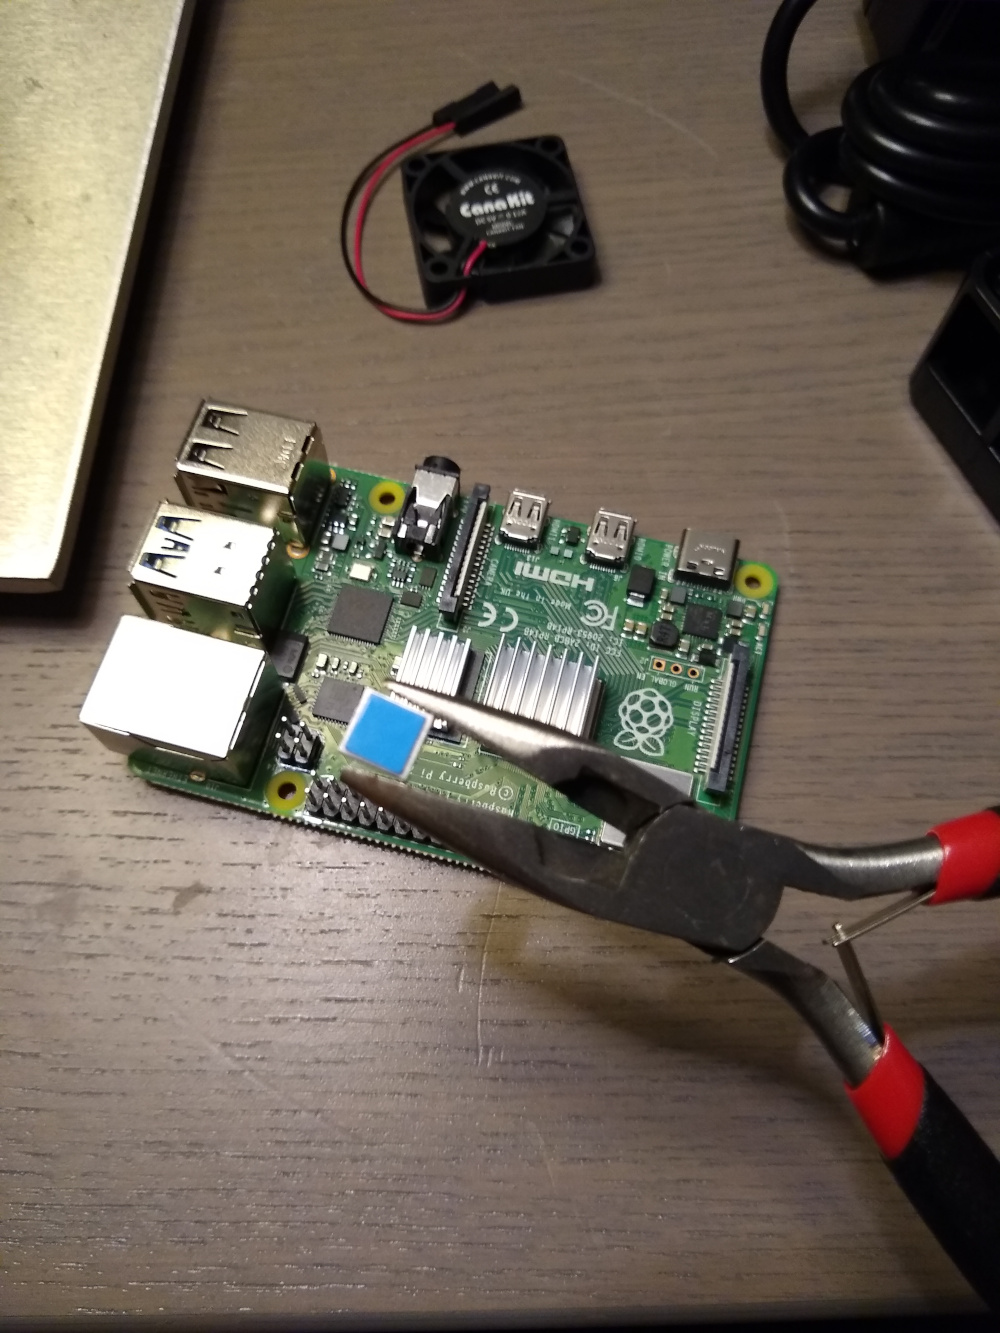
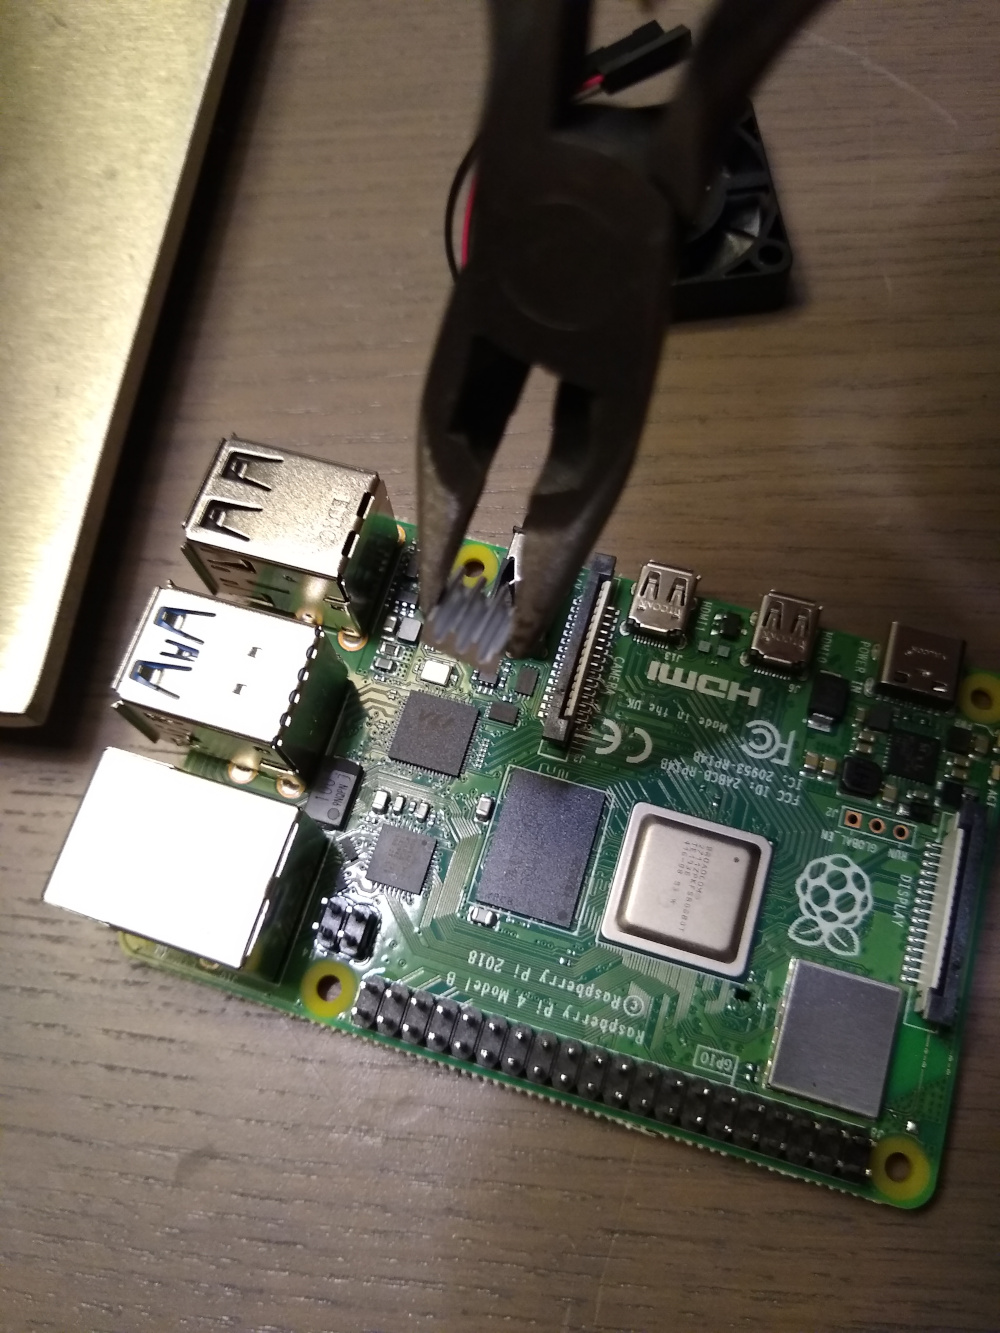
Seemed kinda simple at face value, especially since they didn’t require any thermal paste or anything. It was just a pre-applied adhesive that you just peel the protective blue plastic off and stick it. Easier said than done. These parts were small… especially the smallest one! To do it with my big fat fingers, well… I could already see that wasn’t going to work. Also, on the Model 3, the fins, I’m pretty sure, were all square, and there were only two of them. On the Model 4, there’s an extra cooling fin that’s super small, and new rectangle shaped one. Since the rectangle shaped fin could only be applied one way, I decided to apply the two remaining square fins so that the fins all faced the same direction. Not required, and nobody will see this because the case is actually solid black, but I try my best to be neat and tidy when it comes to putting computers together. Anyway, time to break out the needle nose pliers!
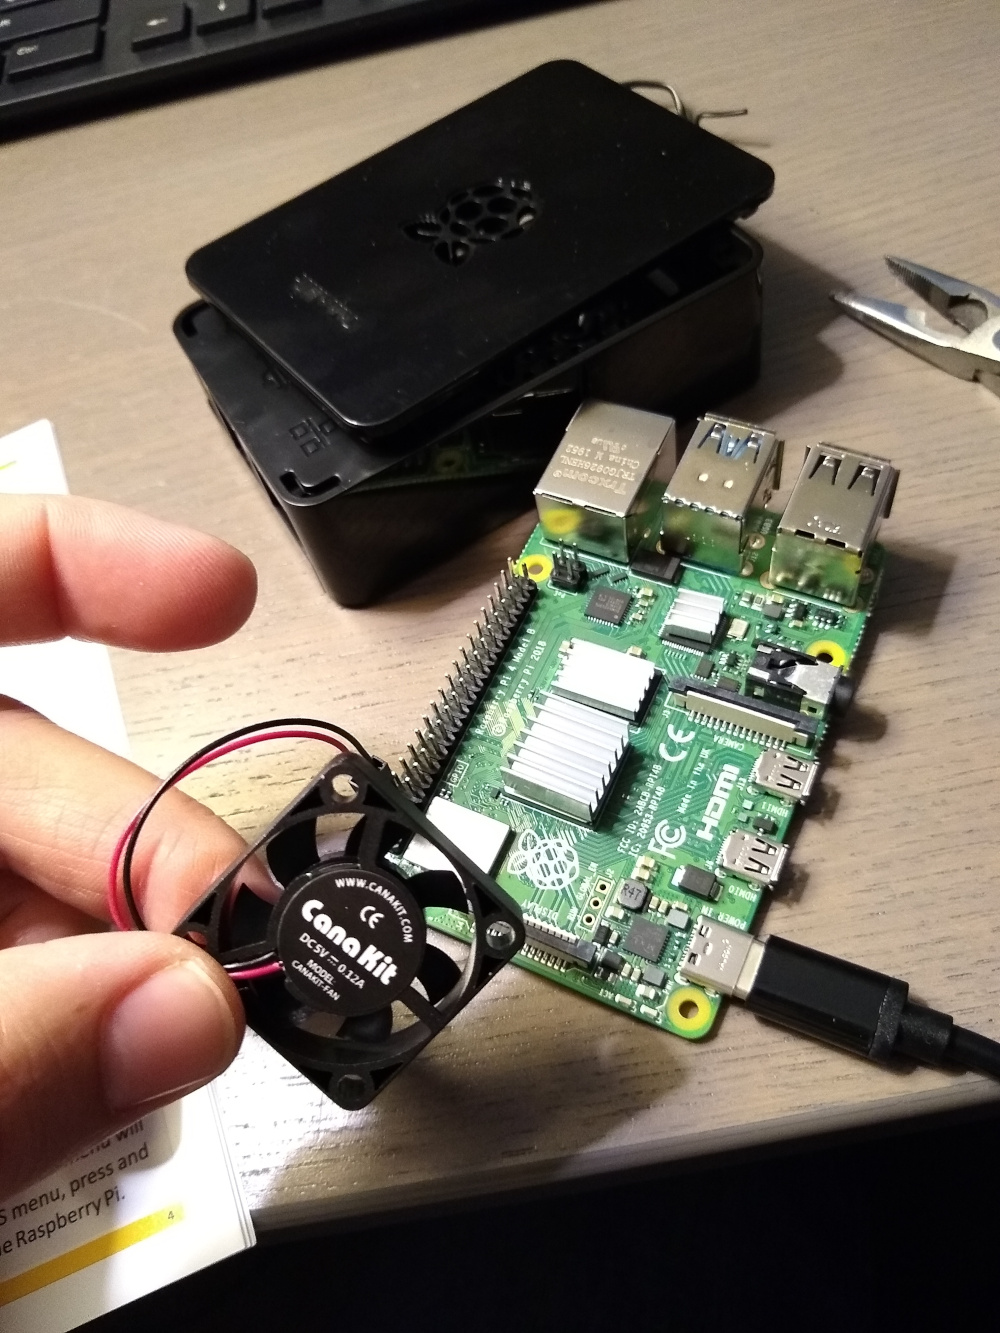
Step 3: Install fan
This one was actually pretty nice! My Model 3 didn’t come with a fan, I didn’t realize I needed a fan, but awesome! My only complaint (and it’s really not that big of a deal) was that there was no arrow on the fan that indicated air direction. So I just followed the instructions on the quick start guide to plug the wires into the GPIO pins, gave it power, and checked the air flow direction. For those of you curious, the air flows in the direction of the CanaKit logo. So instead of pulling air into the Pi case and not really having anywhere for it to go, I wanted the fan to pull hot air out of the case to promote cooling. I know it’s not like a full tower build where you’d actually have to consider airflow and pressure and heat and all that, but that was my thought process. It is a little computer, after all.[ ]
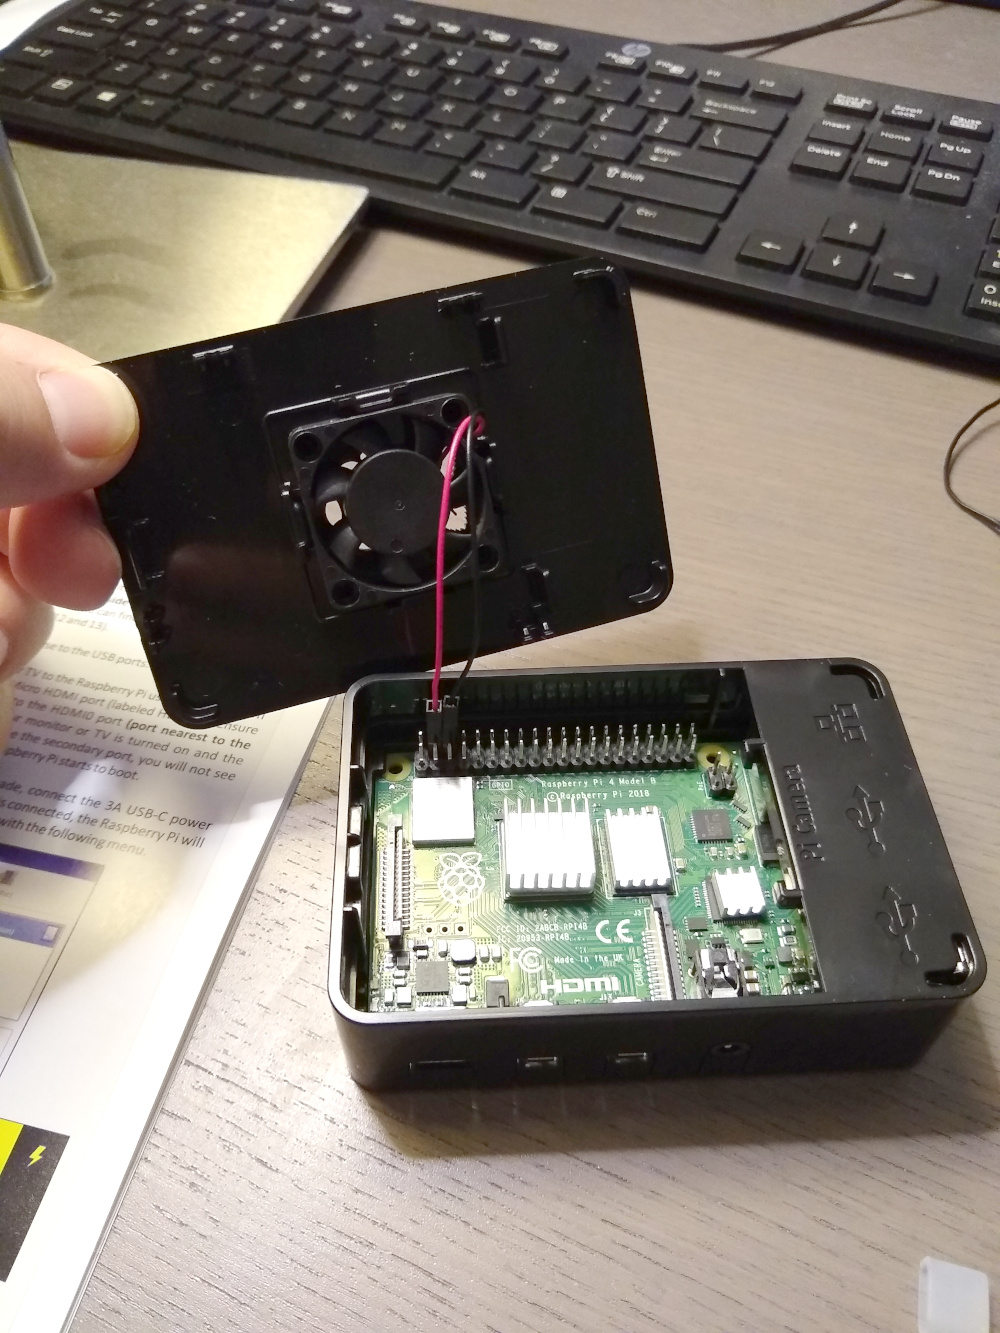
Once I knew the air direction, I clicked the fan into the top lid of the Pi case so the air would blow out of the Pi shaped vent hole at the top. I made sure the fan was still plugged in the correct GPIO pins (since I plugged them in once for testing, I needed to unplug them in order to attach the fan to the case lid) and sealed everything inside.
Step 4: Done!
Obviously, this was just covering the basic Pi assembly, there’s definitely a lot more to come. We haven’t even picked up the blank arcade cabinet yet! That happens next week. Get excited! Here we go!