No job too small.
Got a tech problem? I'm here to help.
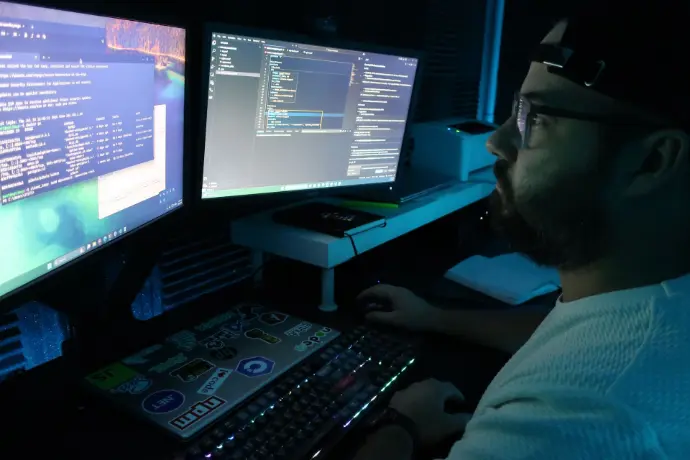
Custom software.
No matter the challenge, we can work together to find the best solution for your business.
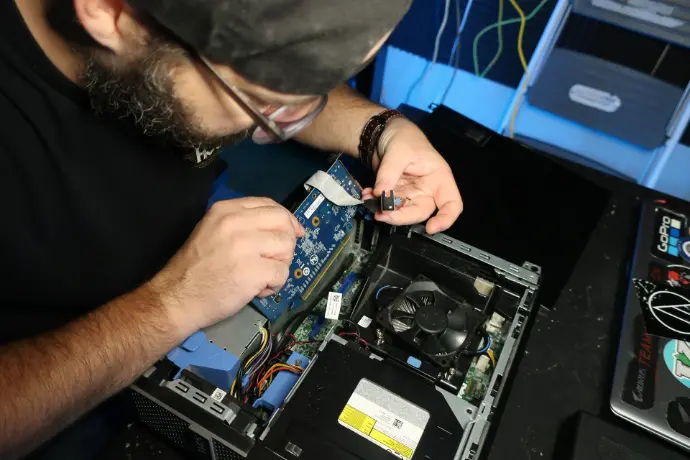
Computer repair
From modern custom builds to bringing legacy machines back to life, I can help you keep your machine running smoothly.