I’ve had an unused Raspberry Pi laying around the office for quite too long! It’s high time I did something about it. I’ve had several ideas over the last several months as to what to do with it exactly, but they were all similar ideas.
I wanted to run some sort of automated task on a schedule (cron job) so I wouldn’t have to remember to send those monthly emails or other tasks that are pretty simple, but I always forget to to do them.
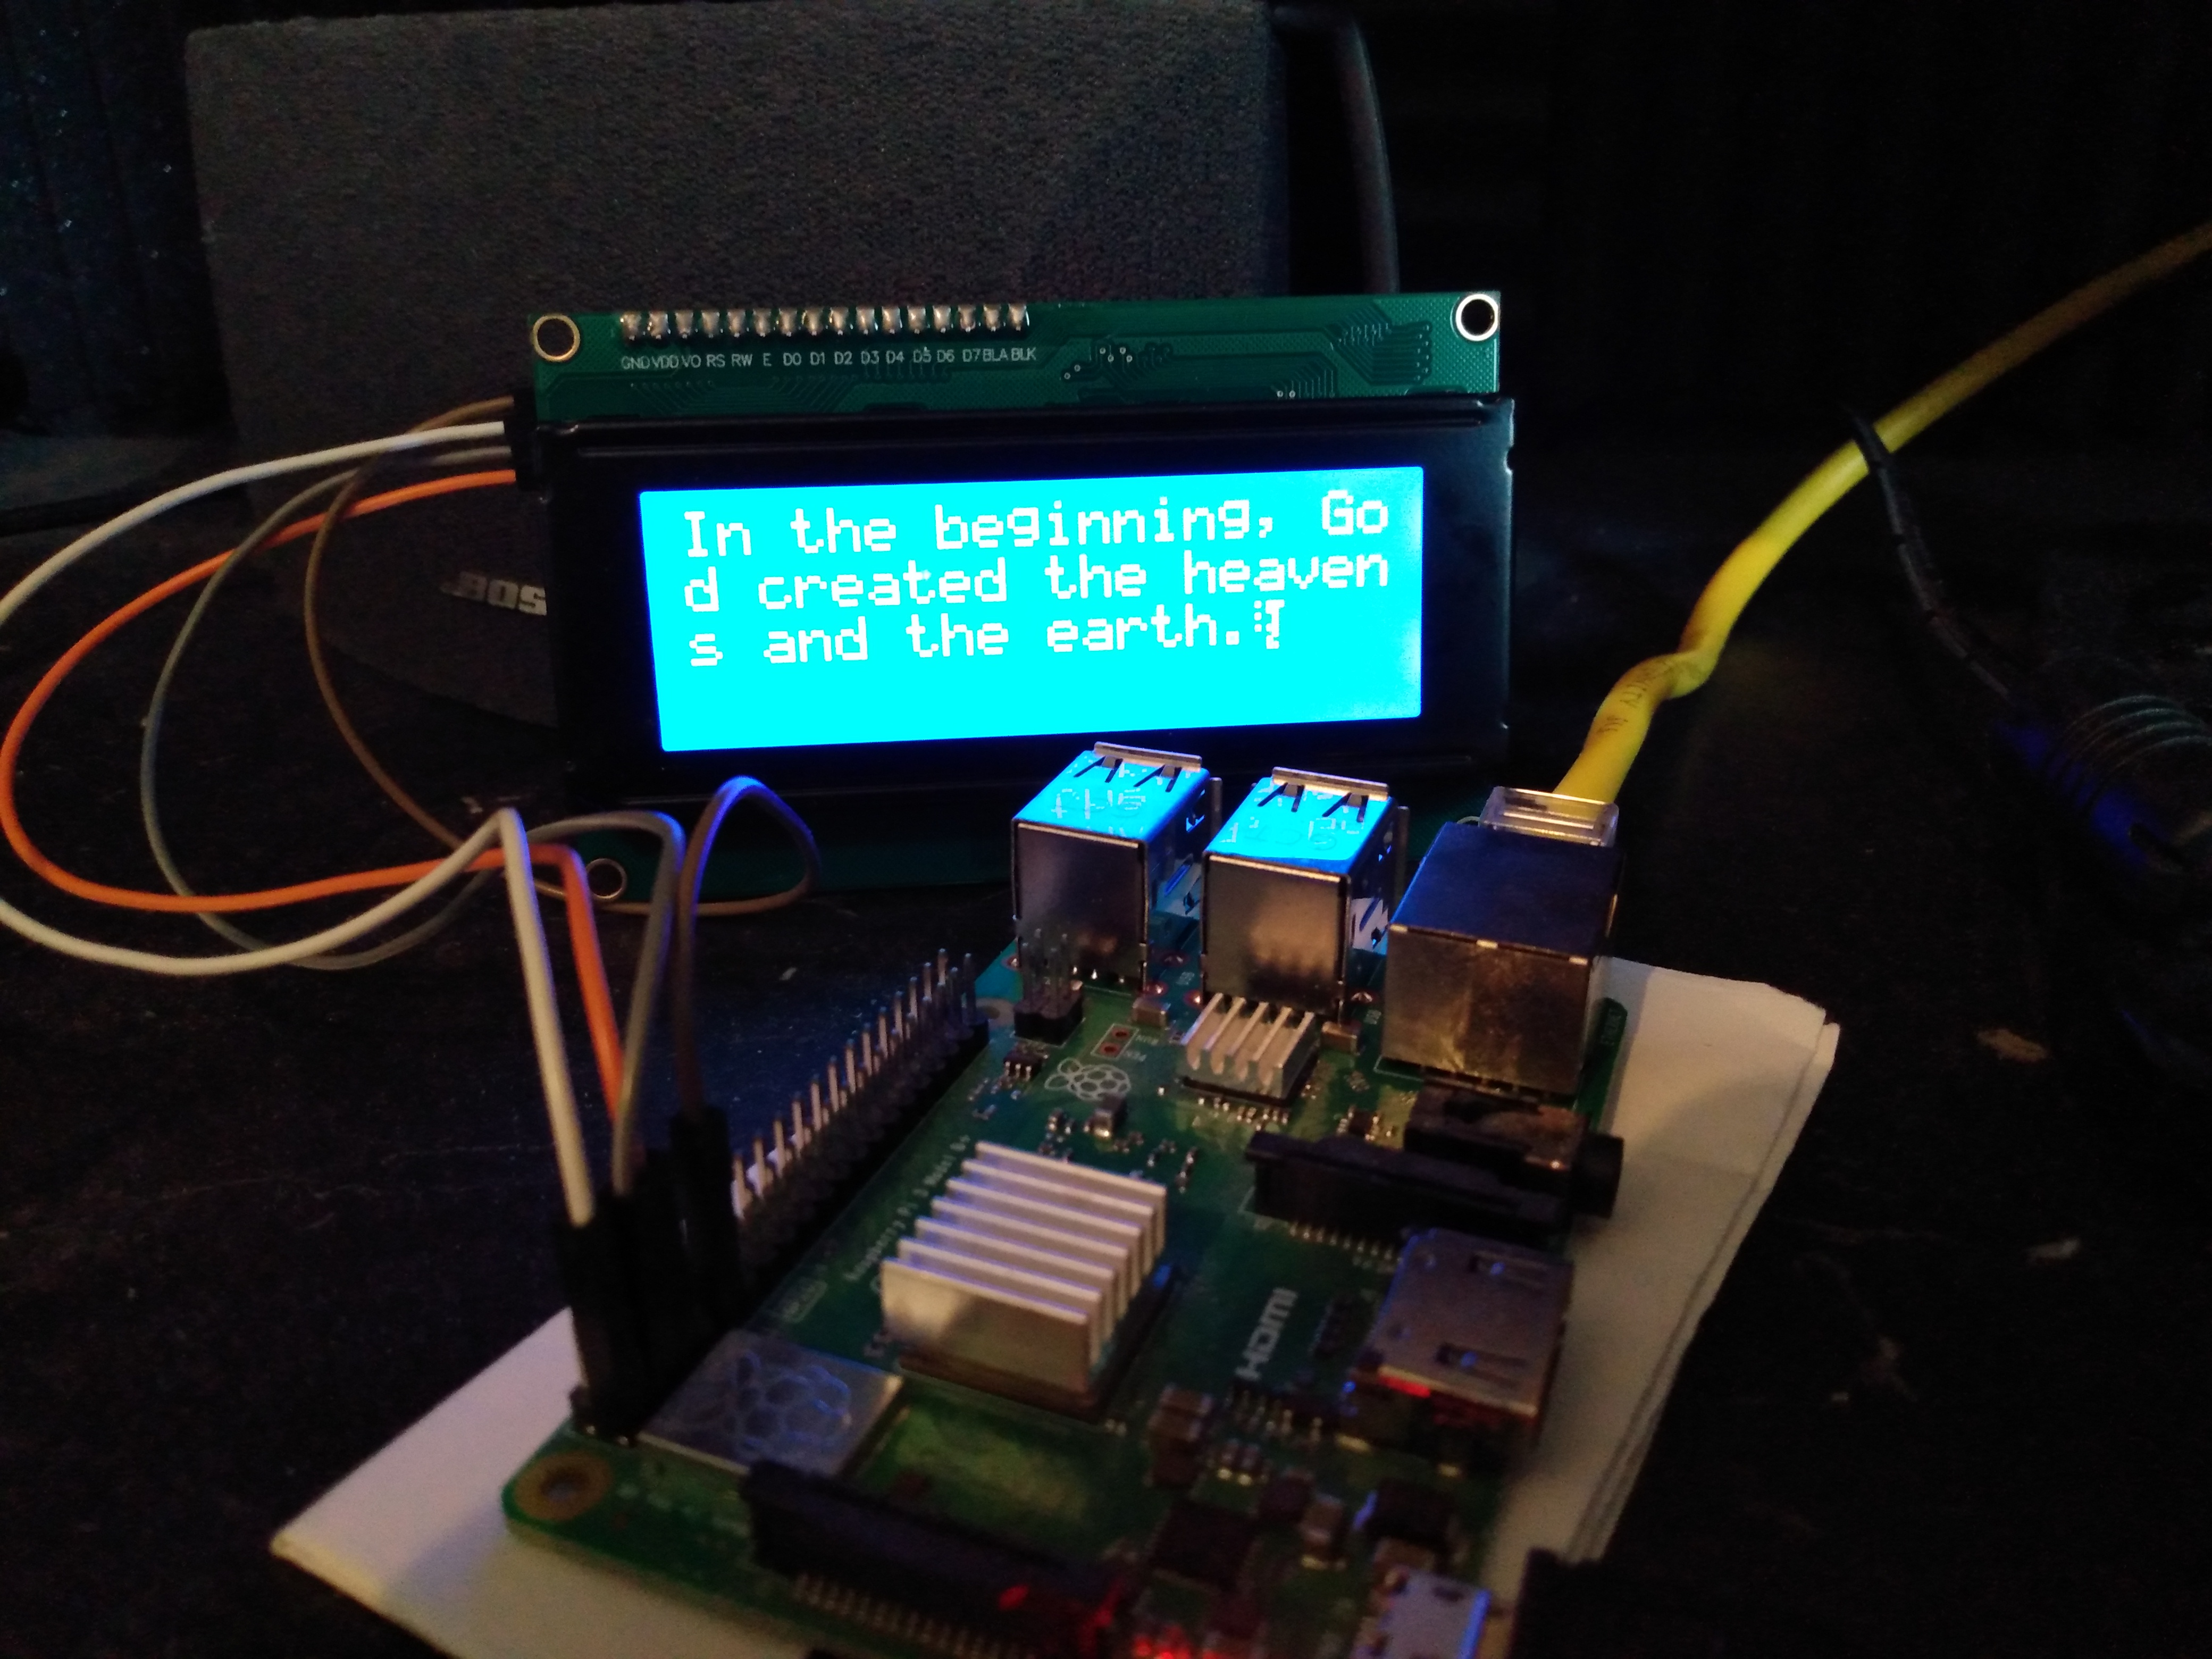
Regardless of what I was doing, I needed a way to keep an eye on the ongoing task, but I also didn’t want to dedicate an entire computer monitor just for the sake of keeping tabs on a monthly task. So instead of doing a full monitor, I thought it would be a good idea to do a smaller LCD screen instead.
Come to find out, there are tons of articles online showing how to set them up and the LCD screens themselves are relatively cheap and readily available. So I figured I’d give it a shot!
Getting started
Before I just pulled up a raspberry pi shop and started throwing a ton of stuff in my cart, I needed to do a bit of research just to understand what I was getting myself into. Obviously, I was going to need that Raspberry Pi (reviving the model 3b+ and putting it back into service), but I wasn’t sure exactly what was needed to get the LCD connected to the pi via the GPIO pins.
- Raspberry Pi (model 3b+, but pretty much any model should be fine)
- 20×4 LCD display
- connector pins (female to female)
- LCD i2c interface (sometimes called a “backpack” module)
The i2c interface was the part I didn’t know much about, but apparently it facilitates the protocol through which the Pi communicates with the LCD, it also steps down the voltage coming off the board so you don’t fry your display.
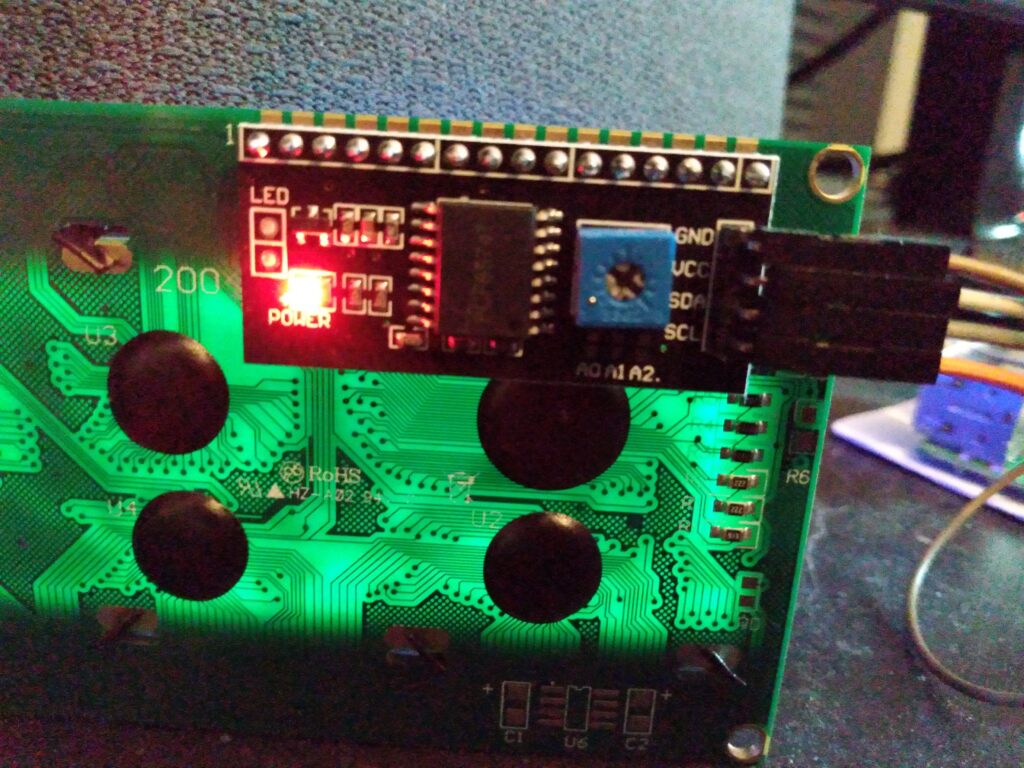
I ended up getting a model that included the i2c interface, which was really handy! Neatly soldiered to the back of the display, it was very much plug-n-play… so long as you plug the correct pins together.

On the back of the display module, as you can see, there’s quite a bit of pre-done soldering up at the top of the i2c module! So if you can find one that has that already done for you, I would absolutely recommend going for that one. The only connections I had to match up were GND (Ground), VCC (fairly certain is 3V power, but will need to double check), SDA (some kind of data signal?), and SCL (probably the other data signal, I’m guessing on and off?). Regardless, there’s plenty of GPIO pin breakout images online, just have a look and connect each wire to the appropriate pin.
Once everything was connected, I booted up a fresh copy of pi OS (like I said, it’s been a while) but instead of doing the FULL OS, I opted for the Pi OS ‘Lite’, which I really like. Because I knew I wasn’t going to be connecting a mouse, keyboard, or monitor directly to this particular Pi, I was able to define my username, password, and internet connection method at the time I was burning the OS, so by the time I boot up, a few seconds later it’s ready to connect via SSH.
